Patches Manufacturers
- Home
- Patches
Custom Patches
Patches Manufacturer Of Raysungifts
At Raysungifts, we take pride in our commitment to delivering top-notch apparel accessories that seamlessly blend style, functionality, and durability. Our custom patches are creatively designed to infuse your clothing with a personal touch, ensuring they stand out with unique and fashionable flair. From patches for jackets to iron-on patches for jeans, we offer an extensive range of options to cater to your diverse needs.
Our expertise lies in manufacturing various types of patches, including embroidered, velcro, and iron-on patches customized for a wide array of applications. Whether you prefer the convenience of iron-on patches or the versatility of velcro patches for interchangeable designs, we have flexible solutions to accommodate your specific requirements.
With our state-of-the-art manufacturing capabilities in China, we guarantee the meticulous crafting of each patch with precision and attention to detail, using only the finest materials that are engineered for longevity. Whether you’re looking to enhance jackets, backpacks, or jeans with patches, our team collaborates closely with you to bring your design visions to life.
Choosing Raysunpets as your custom clothing patch manufacturer means aligning with a partner who prioritizes both creativity and quality. By sharing your design concepts or specifications, our dedicated sales team will promptly furnish you with a personalized quote. Let us assist you in making a statement with your clothing and accessories, one exceptional patch at a time.
Our curated collection of customized products
custom patches
embroidered badges custom
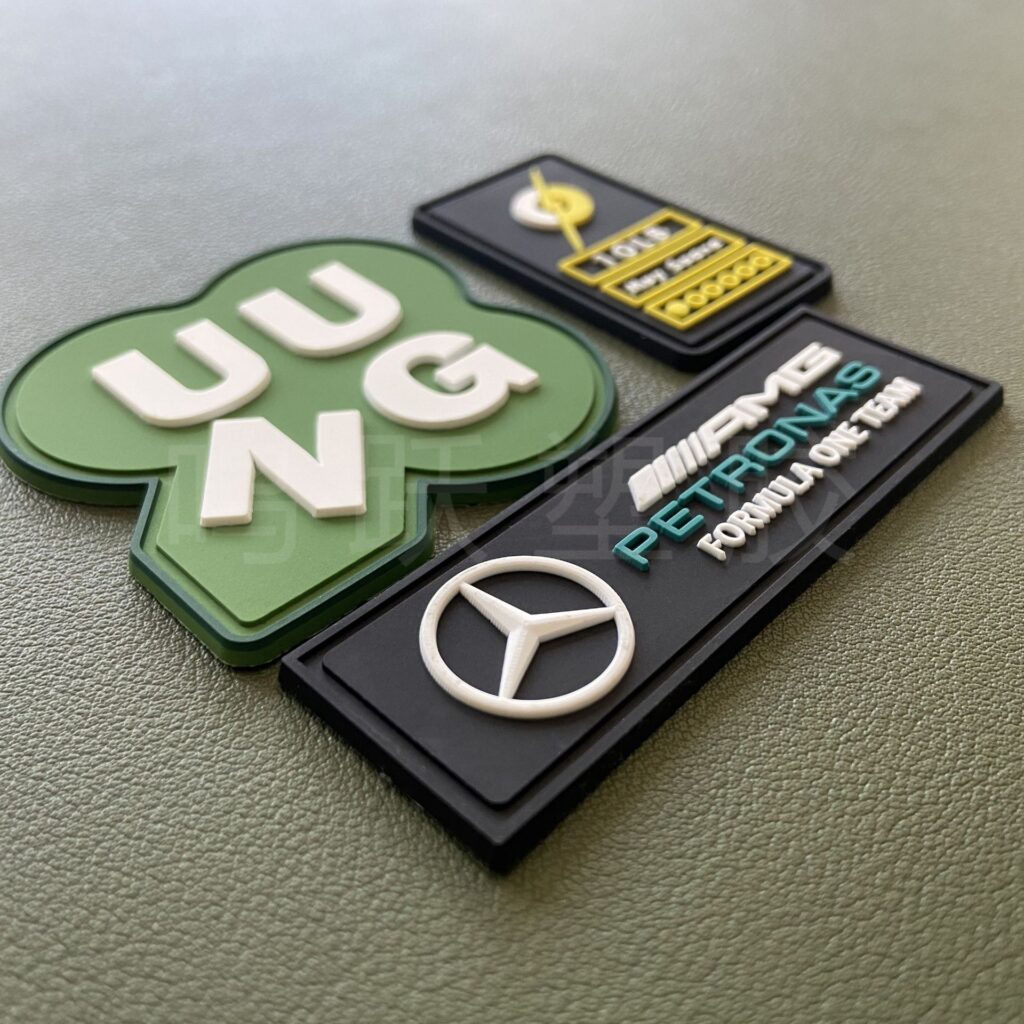
PVC Patches
Rubber Patch
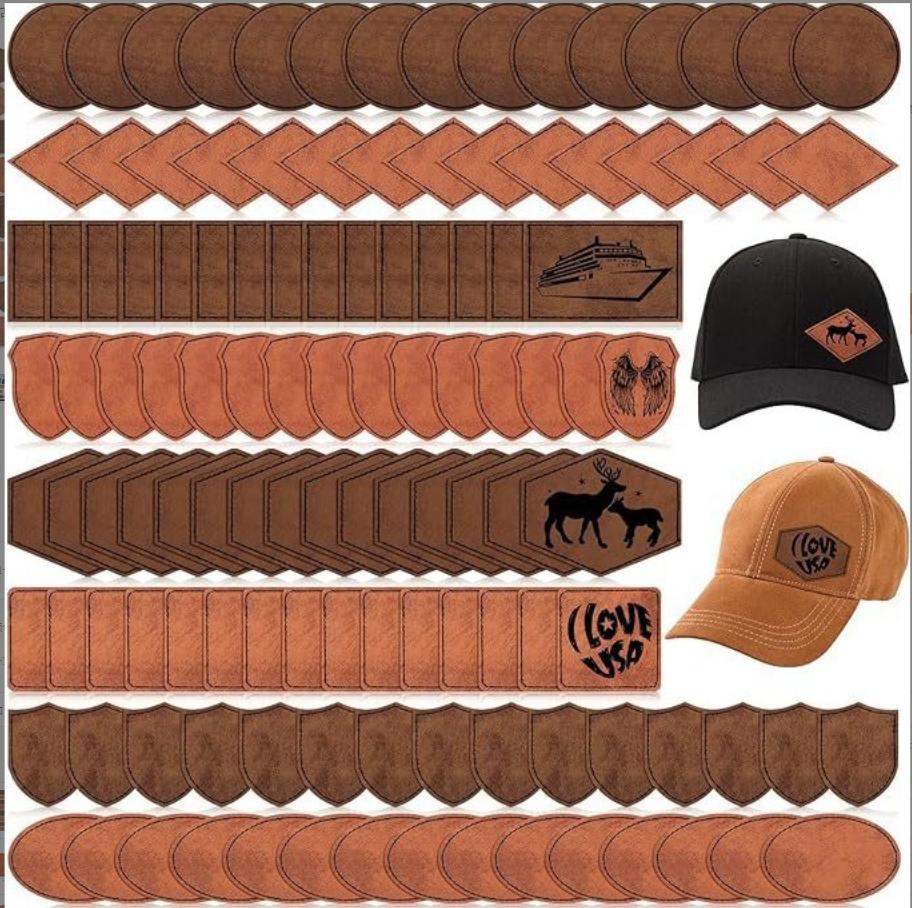
Leather Patches

Towel Embroidery

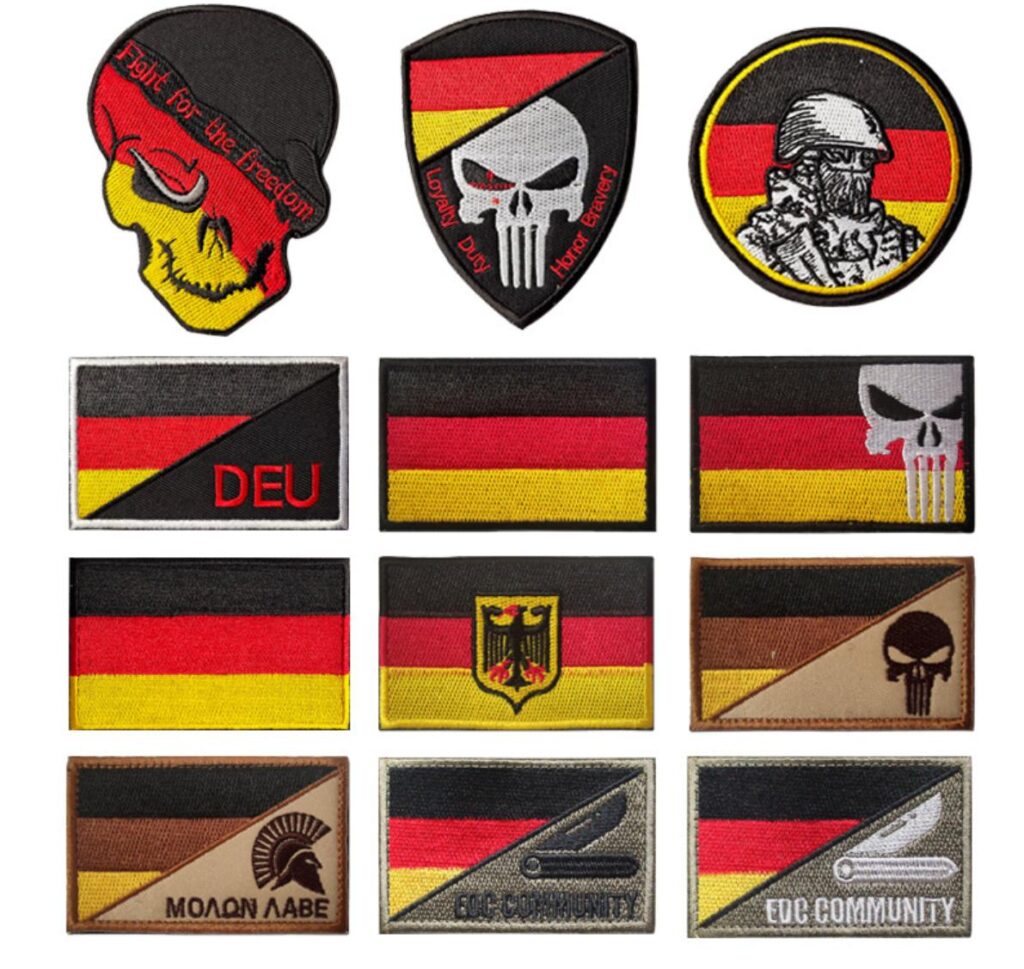
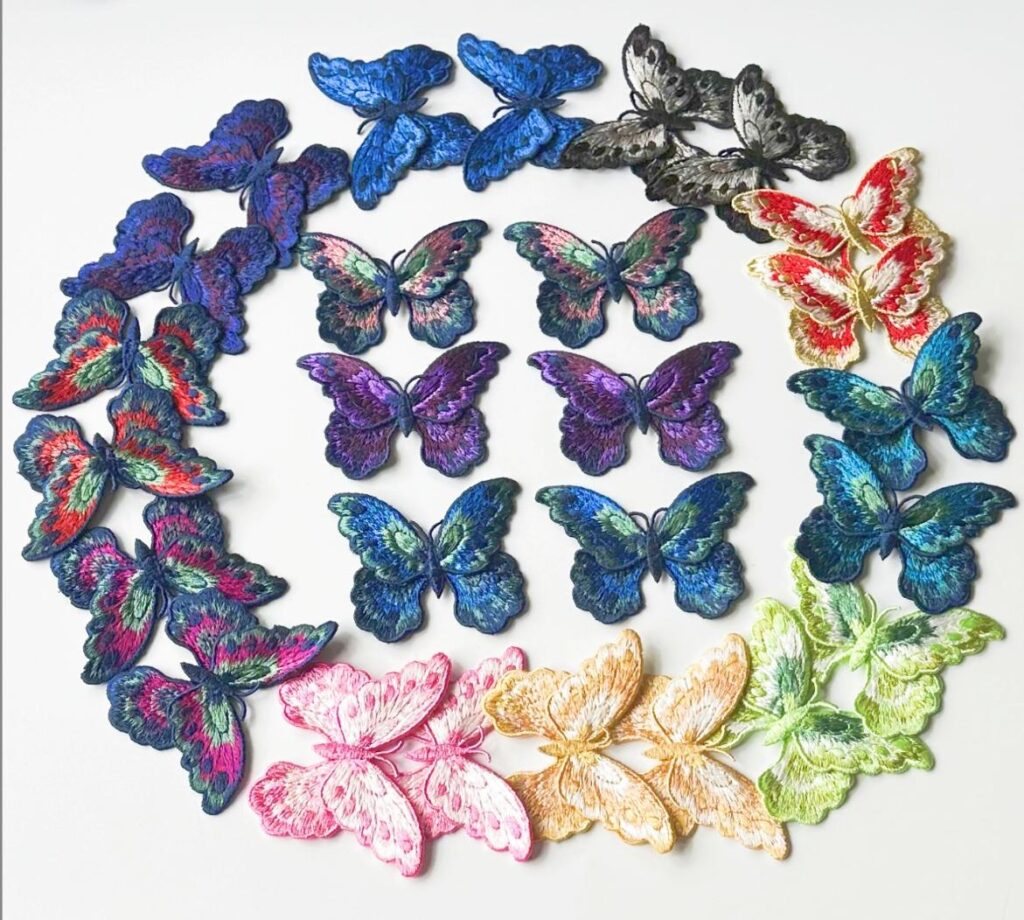
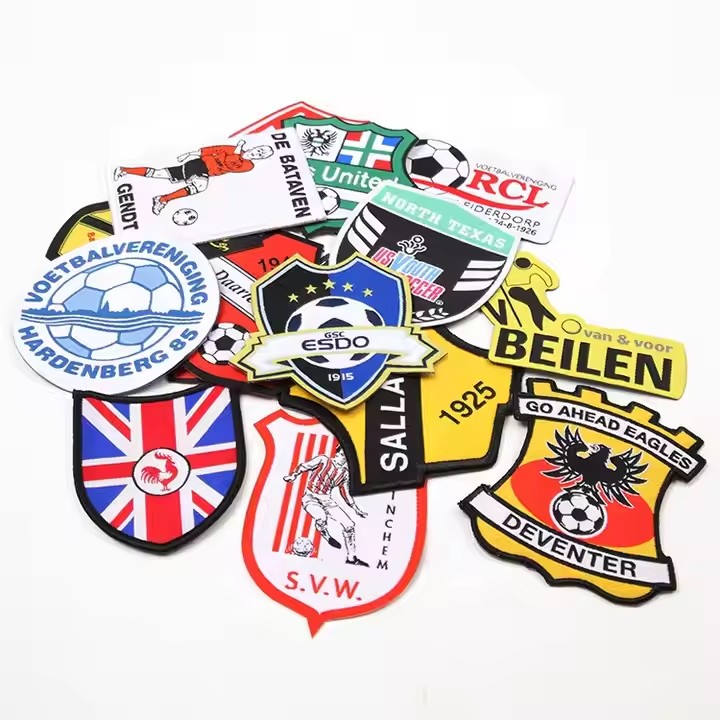
Embroidered Patches

Custom Clothing Patches
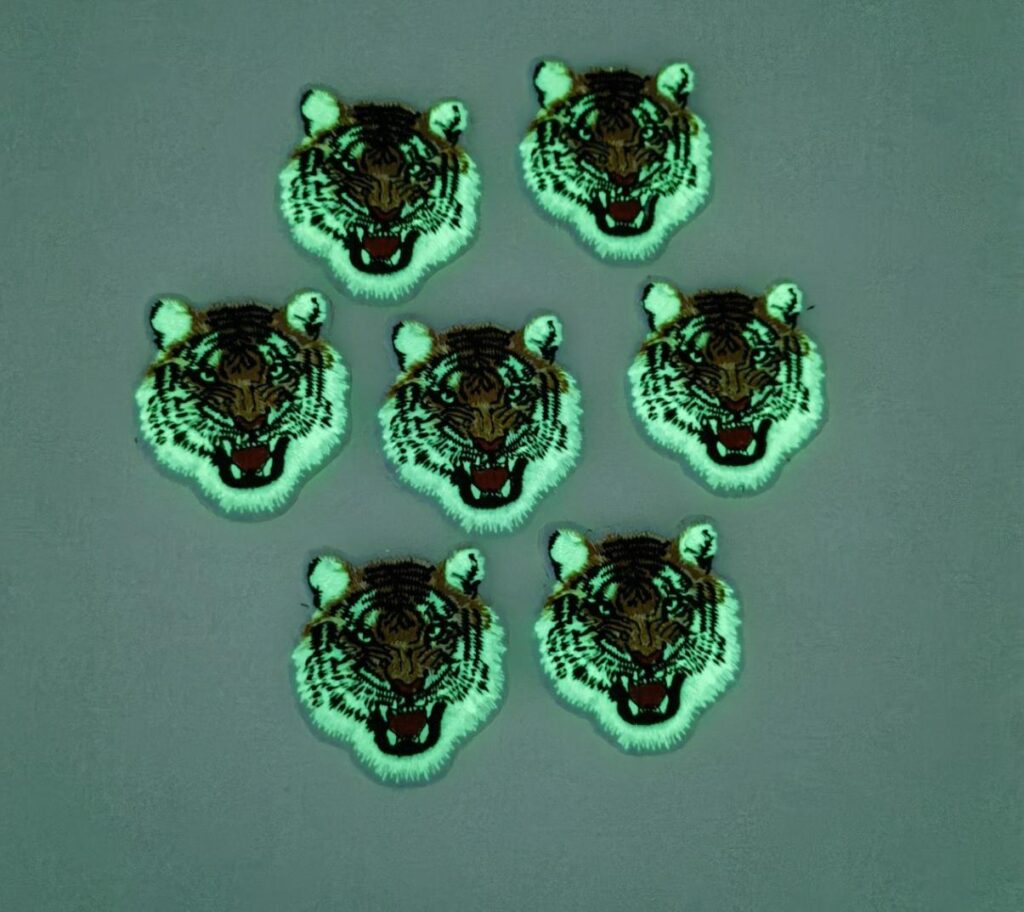
Glow-in-the-dark patch
Patches For Clothes

sew on patches

Free Design, Infinite Revisions
Turning Ideas into Reality
We are committed to turning your vision into reality, and we offer free, professional design support to make it happen. When you reach out to us, our team will work closely with you to transform your idea into a production-ready design. We provide unlimited revisions to ensure the design is perfect and just as you imagined.
No Experience or Commitment Required
You don't need any prior experience or commitment to avail of our services. We are here to support you every step of the way, from concept to completion. Our goal is to help you bring your ideas to life, and we're dedicated to making the process as seamless and enjoyable as possible.
How To Custom Patches ?
Creating a batch of patches from scratch is easier than you might think, especially when you partner with RASYUNGIFTS for all your manufacturing needs. Here’s how to bring your design from concept to a custom patch.


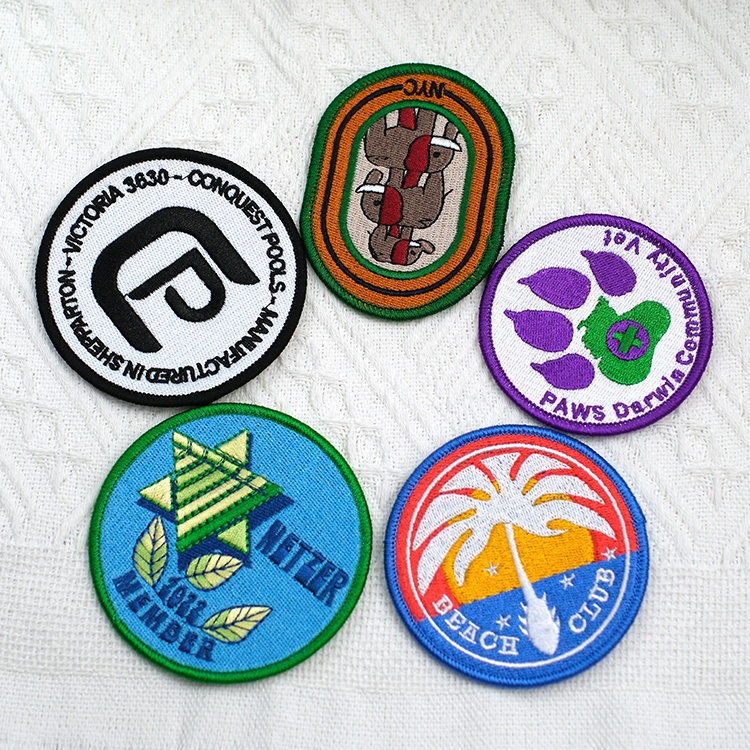
Custom Patches
As a supplier, we offer custom patch services designed to help you create unique and personalized designs. Whether you need brand logos, team insignias, or personalized artwork, we can tailor the size, shape, and colors of the patches to meet your specific needs. Our custom patches are perfect for enhancing clothing, bags, and hats, and they also serve as promotional items that help you stand out from the competition. We use high-quality embroidery or printing techniques to ensure that the patches are both aesthetically pleasing and durable. By choosing our custom patches, you can showcase your personality and interests while boosting your brand image and extending the lifespan of your garments. Let us help you bring your creative ideas to life and add one-of-a-kind appeal to your outfits.
Step 1: Pick Your Patch
If you're new to the world of patches, it's essential to start with the basics. First, determine the type of patches you're looking for, such as embroidered, woven, or PVC patches. Additionally, consider the quantity you'll need to ensure your order meets your requirements.
Step 2: Use Your Imagination
When creating your custom patches, you have the opportunity to customize every last detail, from the backing to the shape to the materials used. This level of customization ensures that your patches are tailored precisely to your preferences.
Step 3: Get Artsy
Of course! Your patches are like a blank canvas, waiting to be adorned with your unique artwork. You can choose to provide your own design, or collaborate with our professional in-house designers at no extra cost to create the perfect patch for your needs.
Step 4: Give Us The OK
Once your patch design is ready, we'll send over a mockup or physical sample for your approval. We're committed to making as many tweaks as necessary until you're 100% satisfied with the final product. Your satisfaction is our top priority!
Step 5: Receive Your Patches
After the approval process, we'll promptly dispatch your sample beautiful patches to your doorstep. What's more, we offer free tracked shipping to ensure that you can monitor the delivery of your order every step of the way.
Step 4: Mass Production:
Once your order is confirmed, we will ensure prompt production and track the progress of patch production and shipment through our supply chain management system. Ultimately, all products will be delivered to you safely and efficiently within the scheduled timeframe.
OEM/ODM Patches
Patches Customizable Options
▲ Patch Back Options
Hook and Loop Backing
- Description: The patch comes with a Velcro backing.
- Application: Attaches to a matching Velcro surface for easy application and removal.
- Usage: Perfect for patches that need to be removed and reused, such as on sportswear or backpacks.
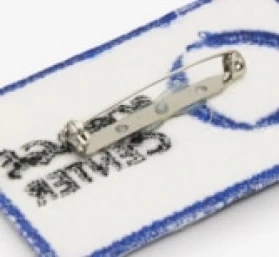
Safety Pin Backing
- Description: Safety pin backing consists of a small safety pin attached to the patch.
Application: The pin can be opened to attach the patch to clothing or bags.
Usage: Best for temporary applications, allowing users to easily move or remove patches as desired for a personalized touch.
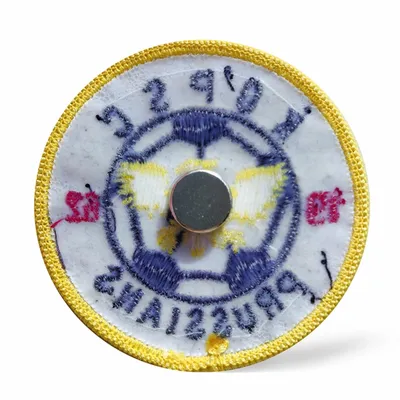
Magnetic Backing
- Description: Magnetic backing features a strong magnet attached to the patch.
Application: The patch adheres to any metallic surface without sewing or adhesives.
Usage: Ideal for temporary displays on metal surfaces like refrigerators and magnetic boards, allowing for easy repositioning.
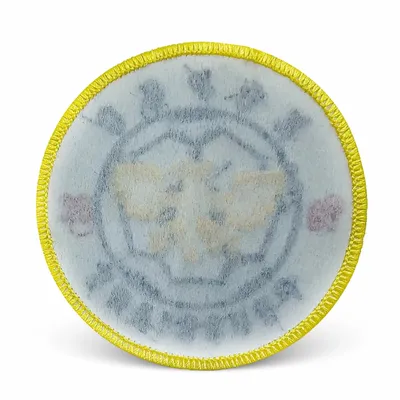
Sew-on Backing
- Description: This backing lacks any adhesive or heat-activated layer.
- Application: Requires sewing or alternative methods for attachment.
- Usage: Often used for decorative purposes, offering a high-end or artisanal finish by sewing the patch directly onto the fabric.

Iron-on Backing
- Description: The back of the patch is coated with a heat-activated adhesive.
- Application: Heat is applied (using an iron) to activate the adhesive and adhere the patch to the fabric.
- Usage: Ideal for easy, no-sew applications; commonly used for home projects and quick attachments.
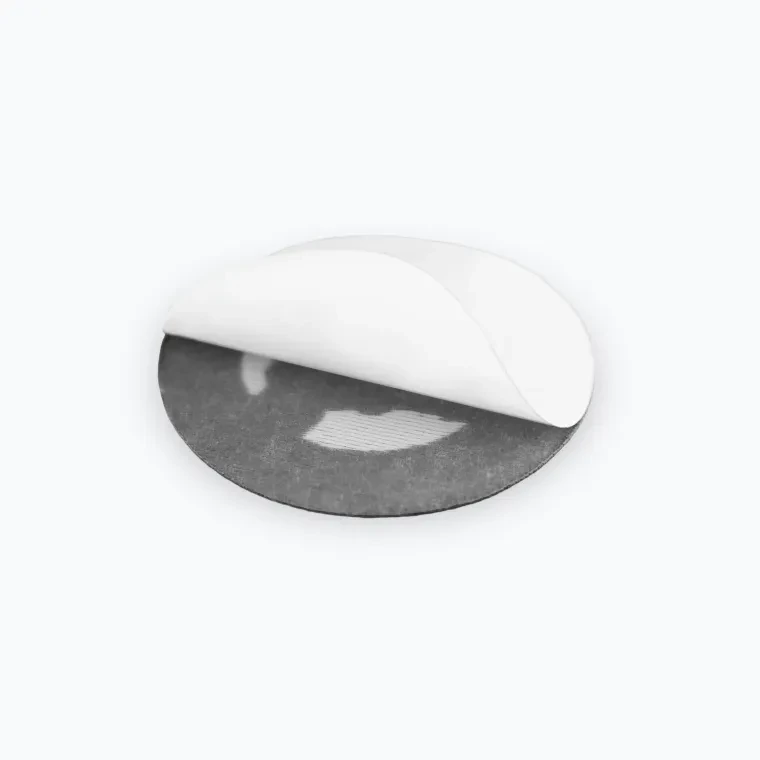
Self-Adhesive Backing
- Description: The back features a self-adhesive layer that sticks directly to surfaces.
- Application: Simply remove the protective backing to apply.
- Usage: Typically used for temporary applications like labels or small decorative patches.
▲ Patch Shape Options
We can produce a variety of patch shapes based on customer specifications, including iron-on patches for jeans, white patches, backpack patches, custom patches, and sew-on patches. This flexibility allows us to offer traditional shapes such as circles and squares, as well as custom intricate outlines and geometric designs, ensuring that we meet our clients’ diverse branding and personalization needs.
▲ Patch Borders & Edges Options
Patch borders and edges options include merrowed, cut, heat-cut, laser-cut, satin stitch, and polyester thread finishes, each offering unique aesthetics and durability to meet diverse customer needs.
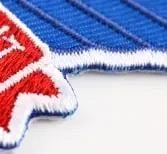
Embroidered Border
Incorporate a touch of embroidery along the border for a polished finish on semi-precise shapes
Merrowed Border
Finish the edges of your patch using an overlock stitch in your preferred color
Single Felt Edge
Add a layer of felt to your patch for additional backing and a splash of contrast.
Triple Felt Edge
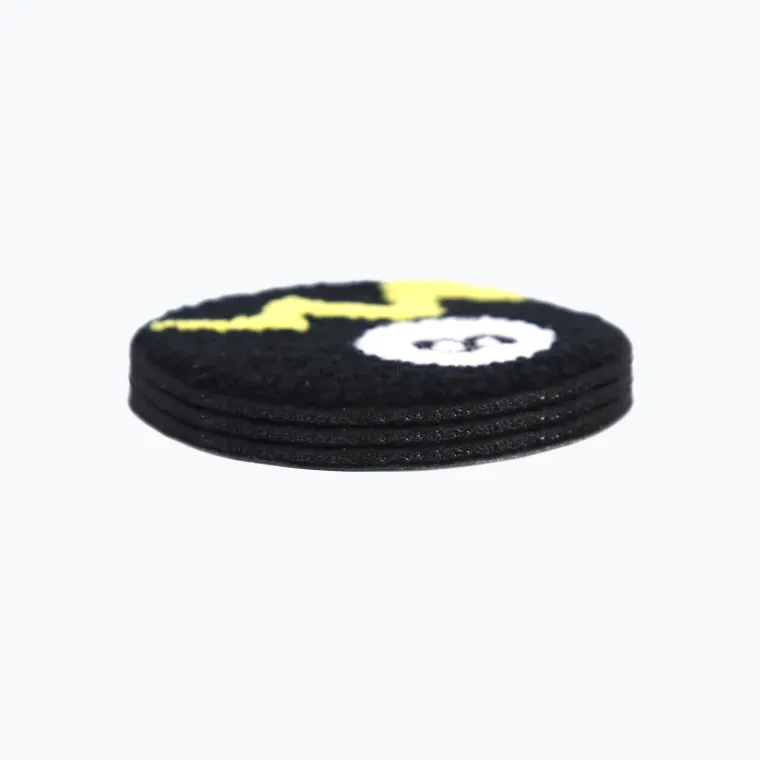
Incorporate three layers of felt into your patch for enhanced backing and a bold contrast.
Hot Cut Edge
Less material with improved heat-sealed edges.
Double Felt Edge
Add two layers of felt to your patch for added backing and a striking contrast.
Laser Cut or Hand Cut

Seal the edges of your patch using an overlock stitch in your chosen color for a clean and durable finish
Frayed Edges
Edges secured with interior stitching while leaving the perimeter loose.
How to iron on patches?
To iron on patches, first, ensure the fabric is clean and dry. Place the patch on the desired area of the fabric, positioning it with the adhesive side facing down. Set your iron to a medium heat setting, without steam. Place a thin cloth (like a cotton towel) over the patch to protect it. Press the iron firmly on the patch for about 20-30 seconds, applying consistent pressure. Allow the patch to cool before checking its adhesion. If needed, repeat the process, especially if the edges aren’t secure. For added durability, sew around the edges after ironing.
- Custom embroidered patches are available in coverage options of 50%, 75%, and 100%. These patches can be applied to personalize t-shirts or jackets, and also serve as a means of identifying company employees. Embroidered patches offer a classic, straightforward style. We provide optional backing and high-quality stitching, allowing your design to be transformed into a wearable piece of art.
How to iron on embroidered patches?
Ironing on embroidered patches is a quick and simple way to add a personal touch to clothing or accessories. Here’s how to do it:
What You’ll Need:
- Embroidered patch
- Iron
- Ironing board
- Clean cloth (preferably cotton)
- Garment or item to apply the patch to
Steps:
Prepare the Garment: Lay the item flat on an ironing board. Smooth out any wrinkles to ensure the patch goes on smoothly.
Position the Patch: Place the embroidered patch where you want it on the garment. Make sure it’s aligned correctly.
Cover with a Cloth: Place a thin cotton cloth over the patch. This will protect both the patch and the fabric from direct heat.
Heat the Iron: Set your iron to medium-high (cotton setting) without steam.
Iron the Patch: Press the hot iron firmly onto the patch for 15-30 seconds, applying even pressure. Avoid moving the iron around to keep the patch in place.
Check the Patch: Lift the cloth to see if the patch has adhered. If it feels loose, iron it for a few more seconds.
Cool Down: Let the patch cool completely before handling.
For added security, sew around the patch after ironing.
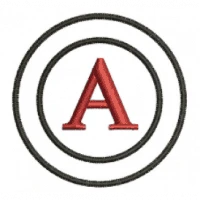
With 50% thread coverage, this option is best for text-only designs.
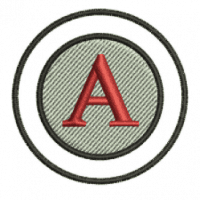
Our most popular option, choose 75% thread coverage for contrasting texture.
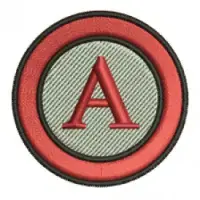
Choose 100% thread coverage if you’re looking for the closest color match to your design.
How to iron on a patch without an iron ?
If you don’t have an iron but still want to attach a patch to your fabric, there are a few methods you can try using common household items. Here’s a step-by-step guide:
Hair Dryer Method:
- Place the patch in the desired position on your fabric.
- Cover the patch with a piece of cloth (like a cotton towel or thin fabric).
- Use a hair dryer on high heat for a few minutes, holding it a few inches away from the patch. The heat will activate the adhesive on the patch.
- After a few minutes, press down on the patch gently with your hands or a flat object (like a book) to ensure it sticks.
Hot Pan or Skillet Method:
- Preheat a non-stick skillet or pan on medium heat. Make sure it’s not too hot to avoid burning the fabric.
- Place the patch on the fabric, cover it with a cloth, and press the hot pan down onto the patch for 10-15 seconds.
- Remove the pan, and let the patch cool slightly before pressing down with your hands.
Sewing:
- If you’re unable to use heat, sewing the patch on is a great alternative. Use a needle and strong thread to stitch around the edges of the patch to ensure it stays in place securely.
These methods can be effective when you don’t have an iron, but always make sure to test on a scrap piece of fabric first to avoid damage.
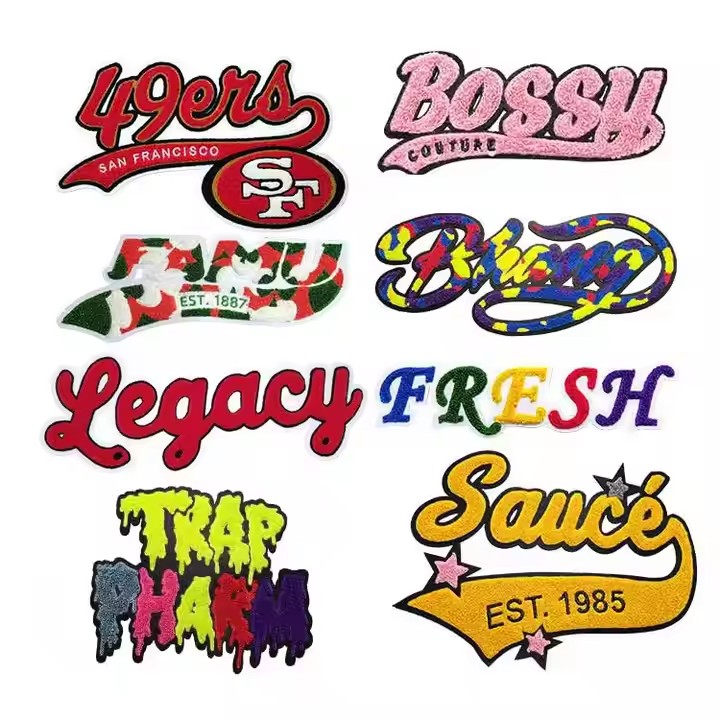
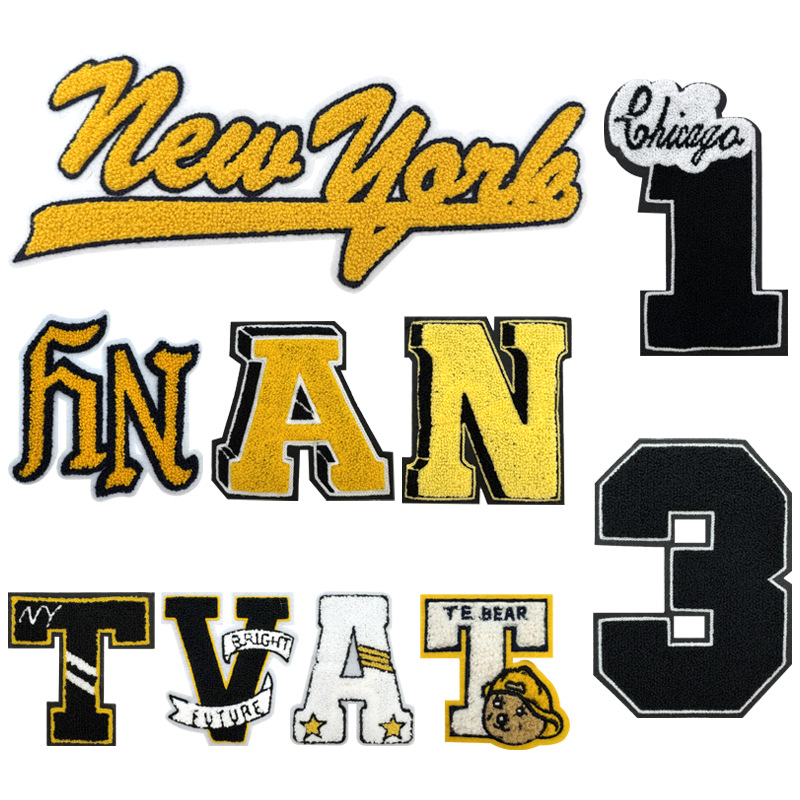
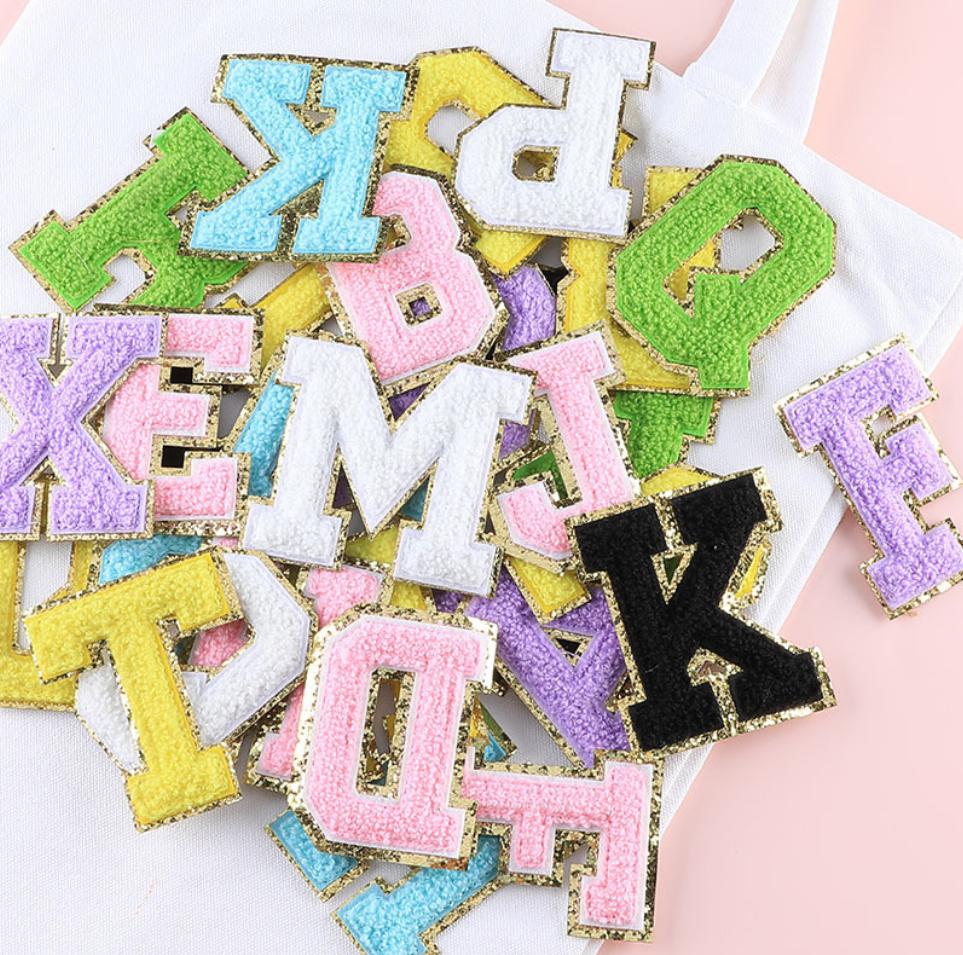
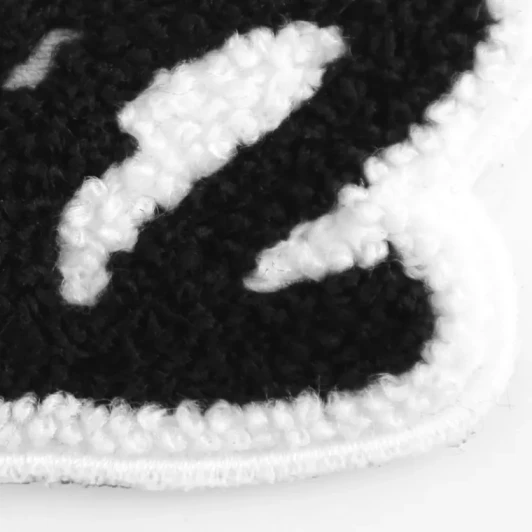
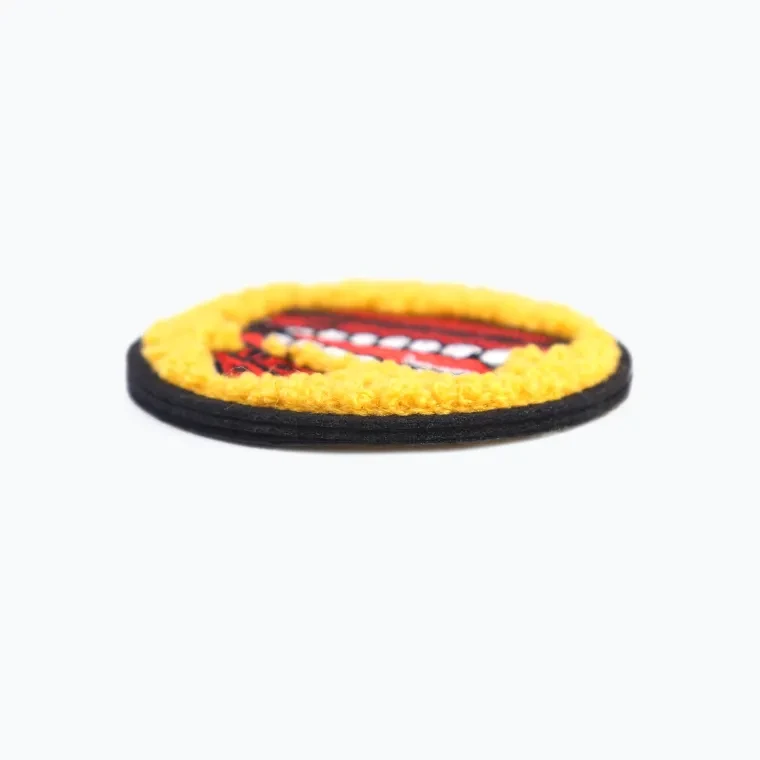
- Our chenille sport patches are perfect for showcasing your school's athletic achievements. With a wide range of options including baseball, football, weightlifting, track, cheerleading, volleyball, basketball, and more, you can find the ideal patches to celebrate your team's successes. These custom jacket patches are a great way to honor student athlete participation and showcase their dedication and hard work. Whether it's for letterman jackets or other sportswear, our chenille patches will beautifully display your school spirit and sports pride.
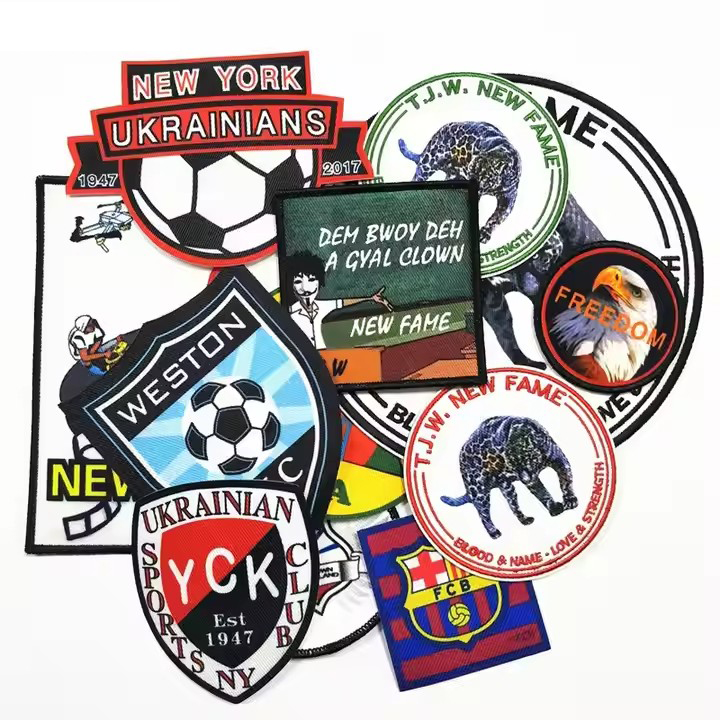
- Woven patches are also great for intricate designs and small text as they can capture fine details more accurately. Additionally, their flexibility makes them great for use on clothing, bags, and other flexible surfaces without the risk of cracking or fraying. If you are looking for a durable, long-lasting, and high-quality option for your patches, woven patches are the way to go.
Woven patches vs embroidered patches
Woven patches and embroidered patches are both popular choices for custom designs, but they differ in how they’re made and the final look.
Woven patches are created by weaving threads together to form the design. This results in a smooth, flat finish, which is perfect for designs with fine details, small text, or intricate logos. The threads are tightly woven, which helps to produce sharp, clean lines. Woven patches are often preferred when you need a detailed or more refined look.
On the other hand, embroidered patches are made by stitching threads directly onto the fabric, which creates a raised, textured surface. This gives embroidered patches a more three-dimensional, tactile feel. They’re great for larger designs or logos with bold colors, but they can be less precise than woven patches when it comes to small details. The stitching can be thicker, so embroidered patches can feel heavier compared to the smoothness of woven patches.
In short, woven patches are ideal for intricate designs with lots of small details, while embroidered patches work well for bold designs with a bit more texture and dimension. The choice between the two depends on the design and the aesthetic you’re going for.
Printed patches vs embroidered
Printed patches and embroidered patches are two common methods of creating custom designs for clothing and accessories, but they have distinct differences in appearance, durability, and cost.
Printed Patches use a digital printing process where the design is directly printed onto the fabric. This method allows for detailed, multi-colored images with gradients and fine lines. Printed patches are typically more affordable and quicker to produce, especially for intricate designs or smaller runs. However, they can wear out more quickly over time, as the print may fade or crack with washing and use.
Embroidered Patches, on the other hand, use threads to stitch the design onto the fabric. This method results in a textured, raised design that feels more durable and premium. Embroidered patches tend to last longer and hold up better to repeated washing. The downside is that embroidered designs are more limited in terms of detail and color complexity. The thicker threads used in embroidery can also make it more expensive to produce, especially for larger designs.
Ultimately, the choice between printed and embroidered patches depends on the desired look, budget, and how long the design needs to last. For vibrant, detailed designs on a budget, printed patches are a good choice, while embroidered patches are better for long-lasting, high-quality applications.
- They are photos made from a line. Why choose printed patches? Because it allows for suitable details and colors that are often impossible. Generally Speaking, printed patches are printed onto a large twill and then get to the desired size and shape by using laser cutting.
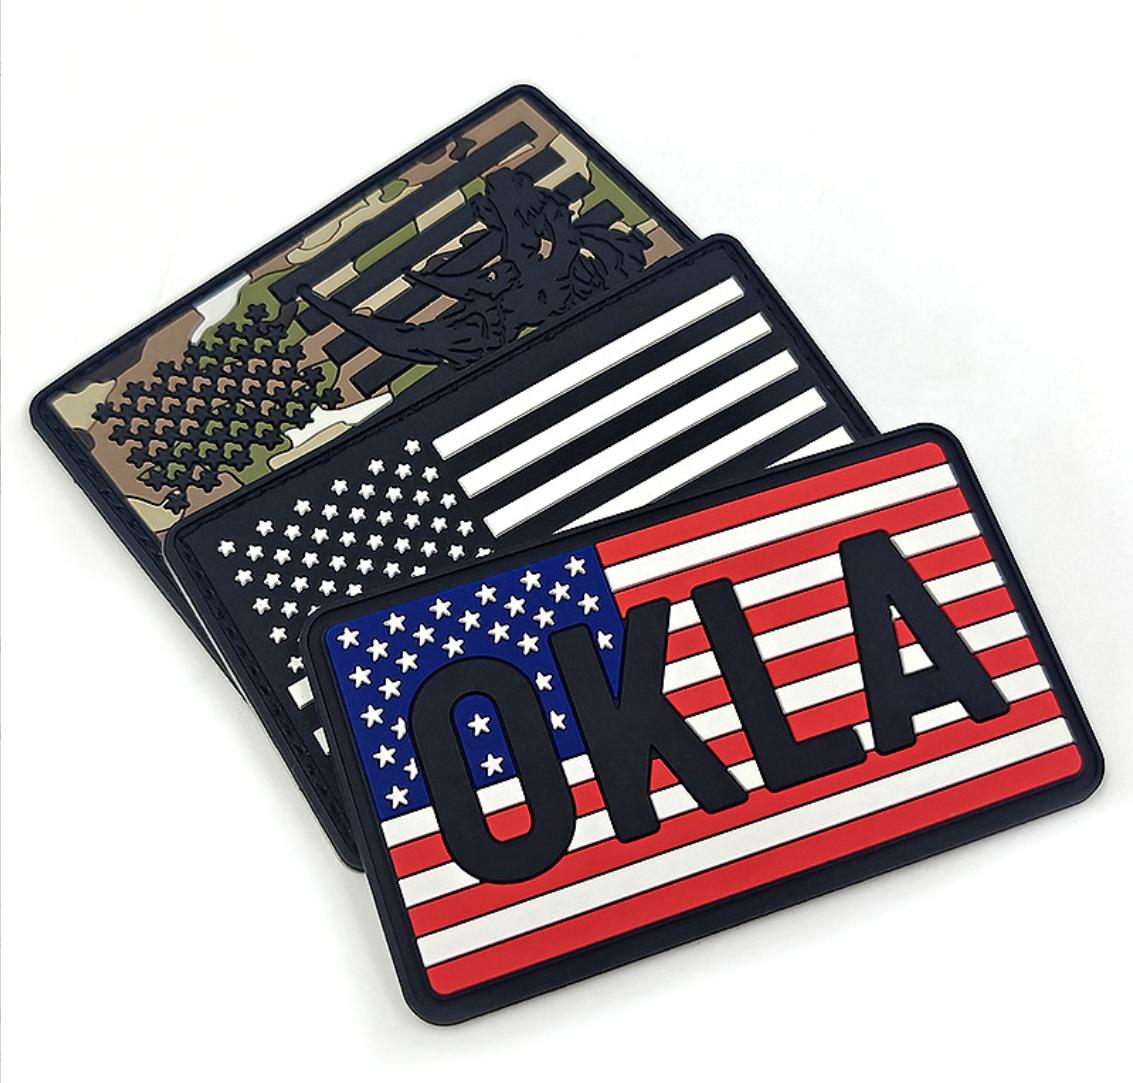
- PVC patches are highly durable, waterproof, and resistant to fading. They are known for their vibrant colors and 3D designs, making them ideal for intricate logos and designs with fine details. PVC patches are flexible, lightweight, and easy to clean, making them perfect for outdoor use and activewear. With their strong, long-lasting quality, they maintain their shape and appearance over time, offering a versatile and eye-catching option for customization.
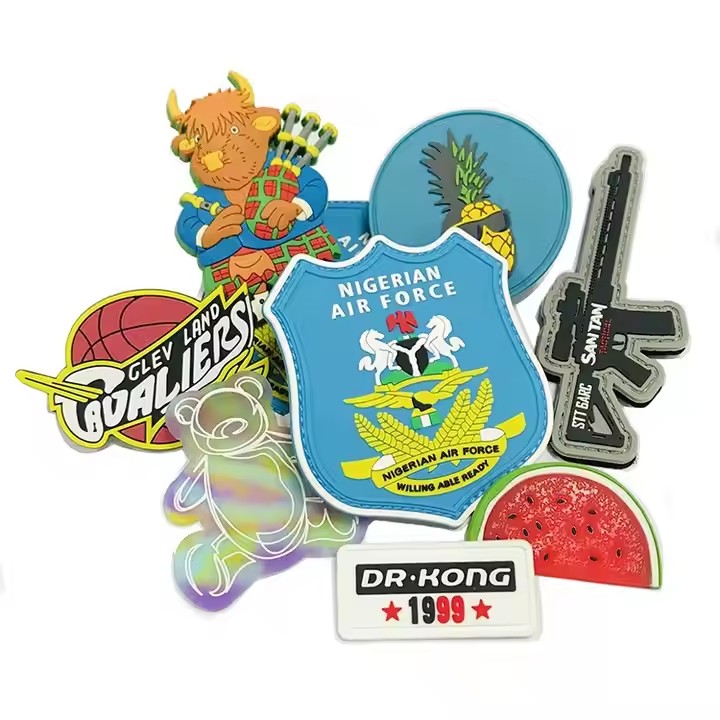
How are pvc patches made?
PVC patches are made through a process that involves molding and injecting liquid PVC (Polyvinyl Chloride) into a mold to create a durable, flexible patch. Here’s a breakdown of how it works:
Design and Mold Creation: First, a design for the patch is created, usually in 2D or 3D. This design is then transferred to a mold, typically made of steel or aluminum. The mold is carefully crafted to match the desired shape and detailing of the patch.
PVC Mixing and Coloring: Liquid PVC is mixed with pigments to create the desired colors for the patch. The mixture is often combined with other additives to enhance flexibility and durability.
Injection Molding: The liquid PVC is injected into the mold under pressure, filling all the details and contours. The mold is then heated to solidify the material and allow it to take on the final shape.
Cooling and Ejection: After the PVC has hardened, the patch is cooled and removed from the mold. At this point, the patch has a smooth, shiny surface and can be detailed further if necessary.
Finishing Touches: Once the patch is removed, it may undergo additional steps like sewing onto a fabric backing, adding velcro or adhesive for attachment, and trimming any excess material.
The result is a highly durable, waterproof, and flexible patch that can be customized in a wide range of colors, shapes, and designs.
Can you iron on a patch to leather ?
Yes, you can iron on a patch to leather, but it requires extra care. Leather is a delicate material that can be damaged by direct heat, so it’s important to follow the proper steps to avoid ruining the leather or the patch.
Here’s how to do it:
Test the Heat: Leather is sensitive to high heat, so before applying the patch, test the heat on a small, inconspicuous area of the leather to ensure it won’t burn or discolor.
Use a Low Heat Setting: Set your iron to a low heat or the “silk” setting. Avoid steam as it can damage the leather.
Protect the Leather: Place a piece of cloth (like a cotton pillowcase or parchment paper) between the iron and the leather. This will help protect the leather from direct heat.
Apply the Patch: Position the patch where you want it. Then, press the iron on top of the cloth for about 20-30 seconds, applying firm pressure. Be careful not to overheat it.
Allow to Cool: Let the leather cool completely before moving it. You may also need to sew around the edges of the patch for extra durability.
If you want a more permanent solution, stitching the patch on is always a safer option!
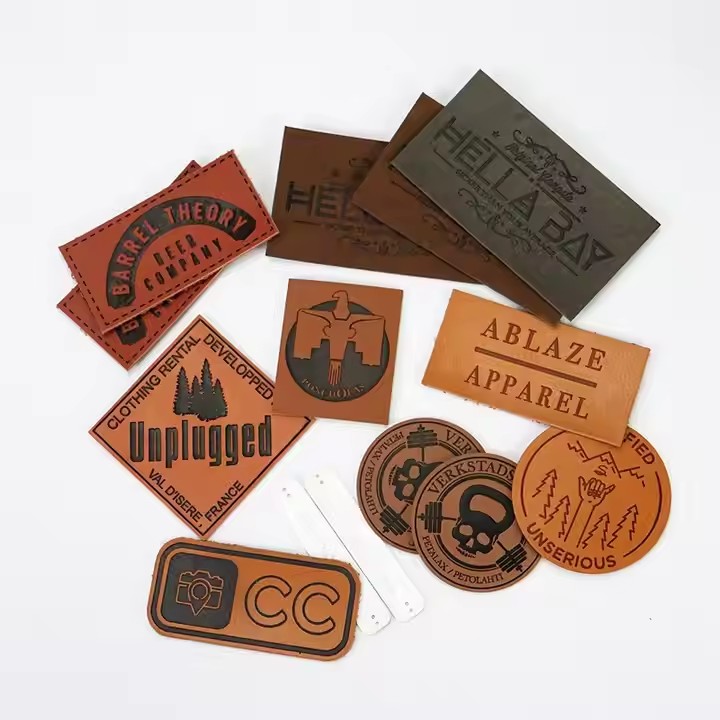
- Leather patches are a stylish and durable addition to any clothing or accessory. Their natural texture and strength make them easy to customize with designs, logos, or text. Over time, leather patches develop a unique and attractive patina, adding character to the item they adorn. They are a popular choice for adding a touch of sophistication to products like jeans, jackets, hats, and bags, and their long-lasting nature ensures they maintain a timeless aesthetic that improves with wear.
What are clothing patches used for?
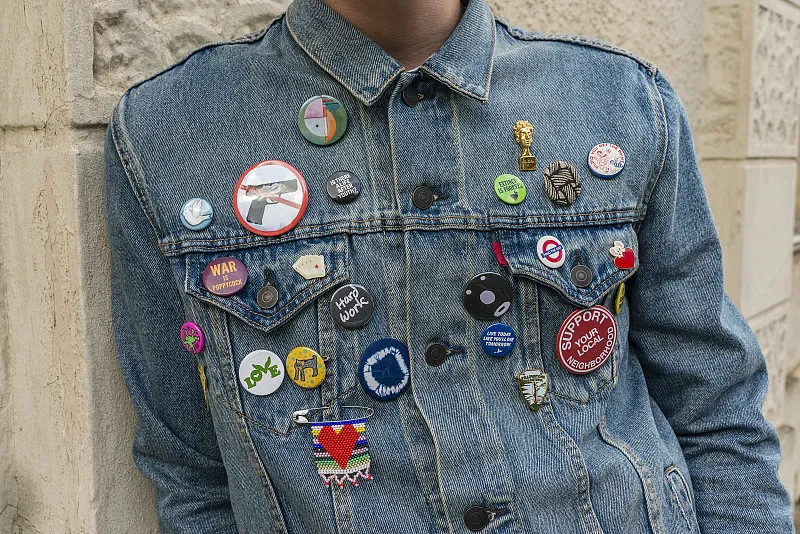
Garment patches have indeed become popular for various reasons. They serve not only as decorative elements but also as a way to personalize clothing and express individual style. Here are some key aspects of garment patches:
Clothing patches serve various purposes:
- Personalization: They allow for custom designs, logos, or artwork on garments like t-shirts, jackets, hats, and jeans, adding uniqueness or reflecting personal style.
- Branding: Companies use embroidered patches to display logos on uniforms, promotional items, or apparel, promoting brand identity.
- Employee Identification: Patches are used to identify employees, especially in uniformed settings such as security, hospitality, or retail.
- Fashion and Trend: Patches are a popular trend, adding a vintage or decorative touch to clothing items.
- Repairs and Cover-ups: They can cover holes, stains, or damage on clothing, extending the garment's life.
- Commemorative or Award Recognition: Patches represent achievements, such as sports team logos, scout badges, or military insignia.
- Cultural or Group Affiliation: Patches symbolize belonging to a group, club, or subculture, like motorcycle clubs, scout groups, or sports teams.
FAQs
Frequently Asked Questions
About Custom Patches
You can order various types of custom patches, including embroidered, woven, PVC, leather, and sublimated patches. Each type offers different textures, durability, and design possibilities.
Custom patches can be made in virtually any shape, from standard options like circles, squares, and rectangles to more unique, intricate designs based on your logo or brand. Popular custom shapes include custom logos, animal shapes, and special icons.
Custom patches come in a wide range of sizes, from small patches (1–2 inches) to larger patches (up to 12 inches or more). The size is typically based on your design and where you plan to apply the patch.
Custom patches can be attached using various methods:
- Iron-on: Using heat to bond the patch to the fabric.
- Sew-on: Stitching the patch onto the fabric with a sewing machine or by hand.
- Velcro: Attaching a patch with hook-and-loop fasteners for removable use.
- Adhesive: Using self-adhesive backings for easy stick-on applications.
Designs should be submitted in a high-resolution format, such as PNG, AI, or EPS. Vector files are preferred for embroidery to ensure sharp, clean lines. It’s important to ensure that the design fits within the patch's size constraints.
- Embroidered patches: Feature thread stitching to create the design, providing a textured look and feel, ideal for designs with fewer details or a bolder appearance.
- Woven patches: Use a finer thread to create a smoother finish, making them better for intricate designs or small text.
Yes, custom patches can be made in as many colors as needed, but more colors may increase production costs, especially for embroidered patches. The number of colors used will impact both price and design complexity.
Production time typically ranges from 7 to 14 days, depending on the complexity of the design, order size, and shipping method. Rush orders may be available for an additional fee.
Free samples, but you have to pay for shipping