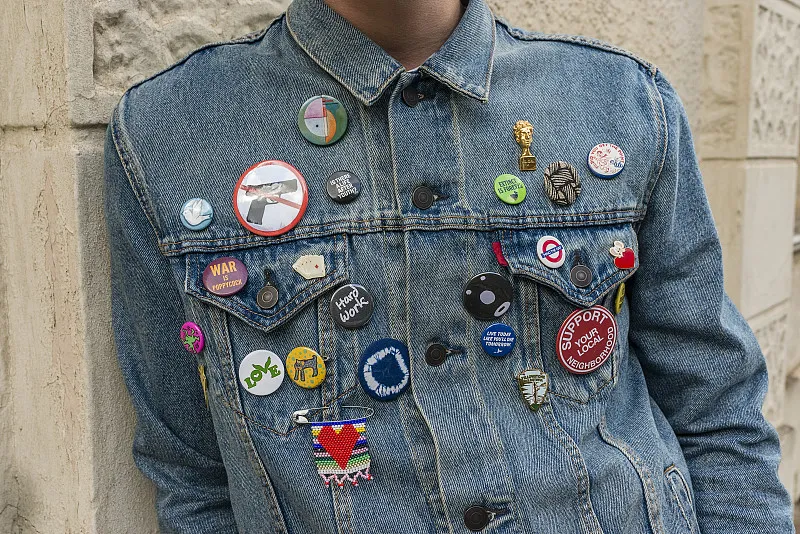
You found the perfect patch to customize your backpack. But after careful ironing, it peels right off, leaving you frustrated and your backpack looking worse than before.
Your patch won’t stick because most backpacks are made of synthetic fabrics like nylon or polyester. These materials have low melting points and are often treated with a water-repellent coating, which prevents the iron-on adhesive from properly bonding and can cause the fabric to melt.
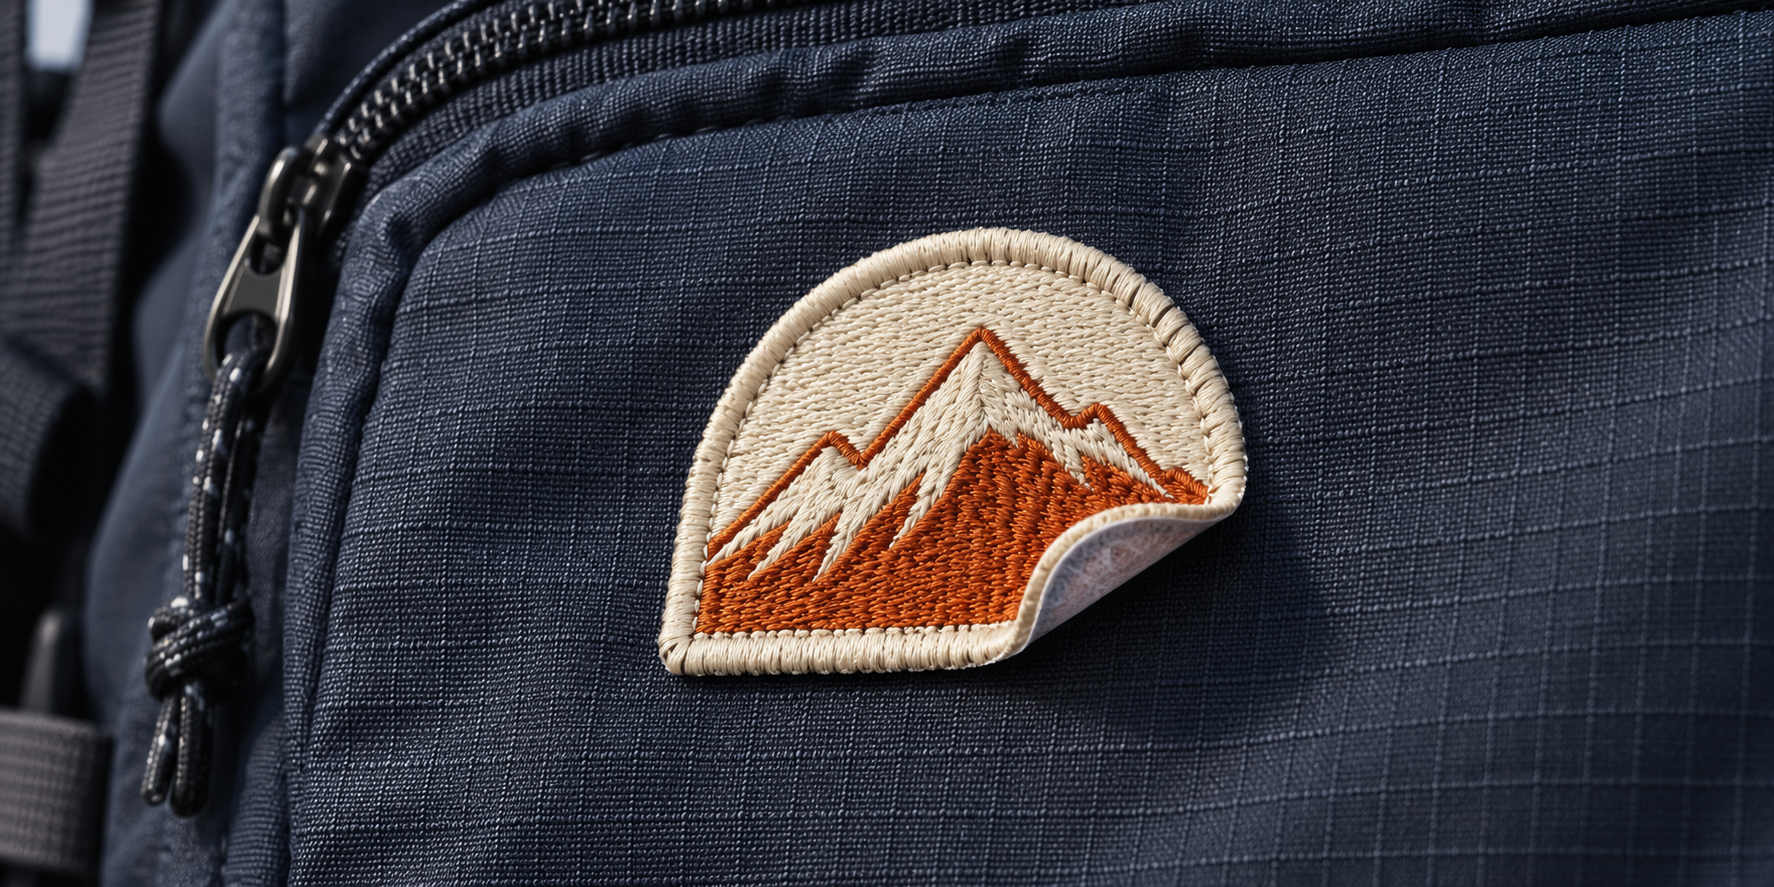
In my years as a product designer and manufacturing consultant, this is one of the most common questions I get from brands and DIY enthusiasts alike. People spend money on beautiful custom patches, only to have them fail. The problem isn't the patch; it's a mismatch between the patch's technology and the backpack's material. A backpack is a technical piece of gear, and its fabric is chosen for performance, not for easy customization. Let's break down exactly why it fails and what you should do instead.
Can You Iron a Patch onto a Coated Fabric Backpack?
You followed the instructions perfectly, but the patch lifted off within a day. Now you're wondering if your backpack is just impossible to customize, ruining your plans.
No, you generally cannot. The high heat needed to melt the patch's adhesive is often higher than the melting point of nylon or polyester. Even worse, most performance backpacks have a Durable Water Repellent (DWR) coating that is specifically engineered to prevent anything from sticking to the surface.
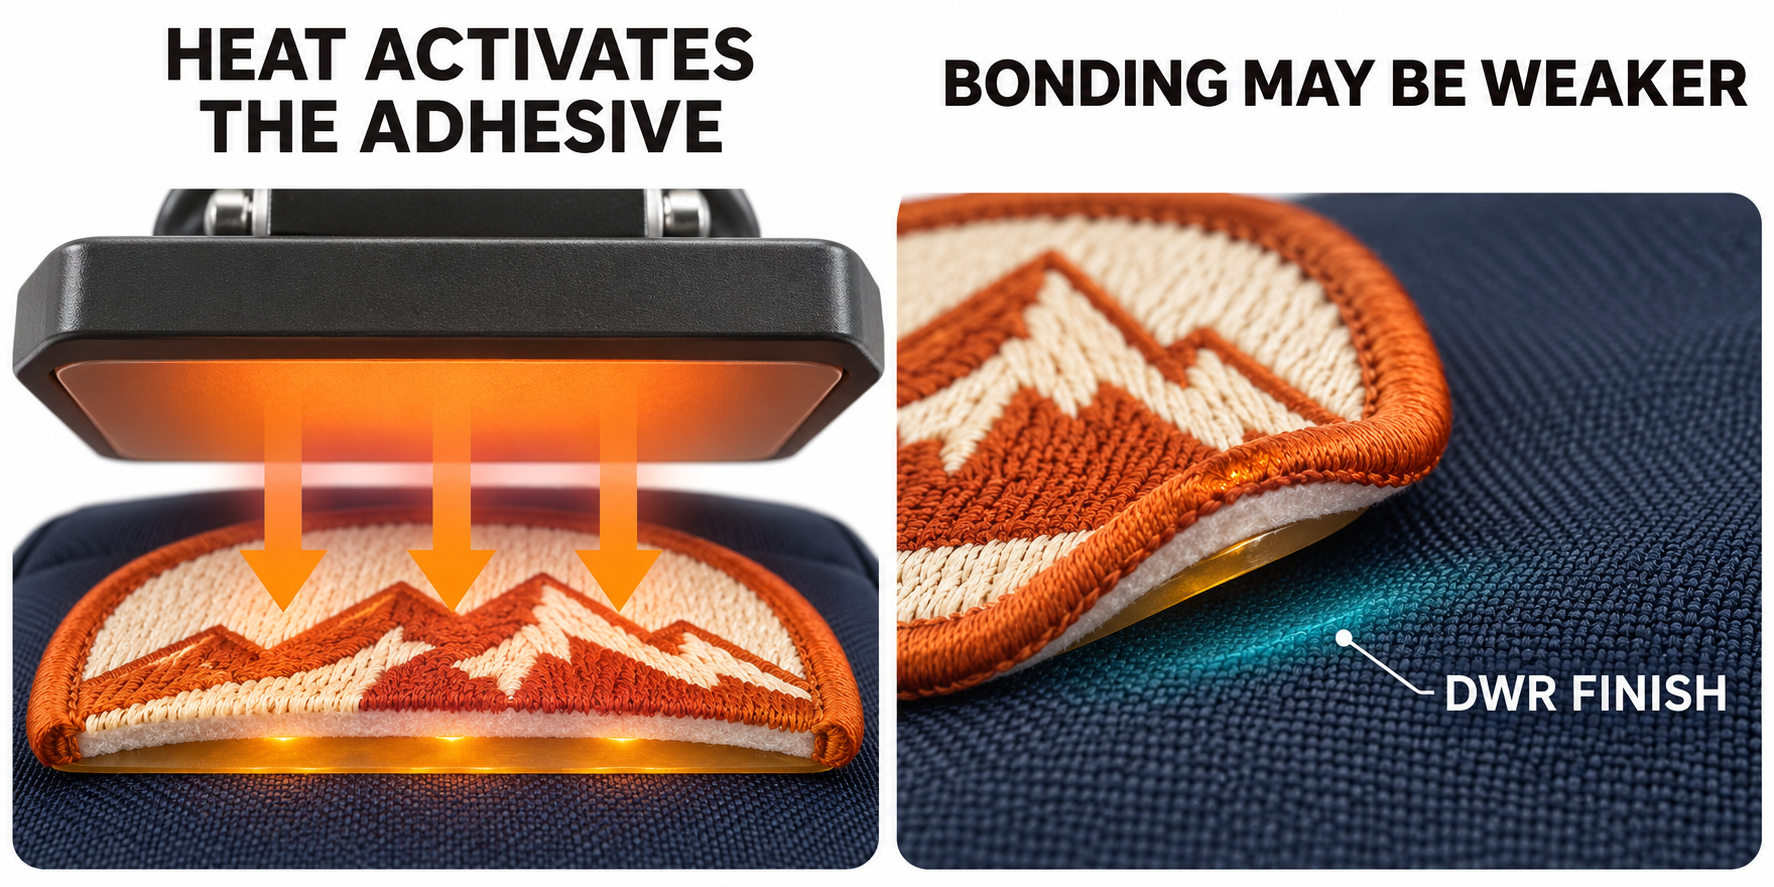
I learned this lesson early in my career while developing a line of outdoor packs. The marketing team wanted to apply a large, intricate logo patch using an iron-on method because it was fast and cheap. During testing, we either melted the expensive ripstop nylon fabric or the patches peeled off within hours of simple flexing. The DWR coating was doing its job too well. We had to explain that for a durable, professional application that respects the integrity of the material, other methods were necessary. It's a fundamental conflict: you can't have a high-performance, water-shedding surface that also welcomes adhesive.
Fabric and Coating Compatibility
Understanding your backpack's material is the key to success. Most modern packs are not suitable for high-heat applications.
| Fabric Type | Melts Easily? | DWR Coating Common? | Iron-On Success Chance |
|---|---|---|---|
| Cotton Canvas | No | No (unless waxed) | High |
| Denim | No | No | High |
| Nylon (Cordura) | Yes | Yes | Very Low |
| Polyester | Yes | Yes | Very Low |
The fabrics that make the best backpacks are often the worst candidates for iron-on patches.
What Kind of Glue Works Best for Backpack Patches?
You tried using glue, but it created a stiff, messy blob. The patch still fell off, but now your backpack has an ugly, permanent residue mark on it.
The best choice is a flexible, waterproof fabric adhesive designed for synthetic, non-porous materials. Products like Gear Aid's Fabric Repair Adhesive or specific industrial fabric glues work well. Avoid super glue and hot glue, as they become brittle and will crack and fail when the fabric flexes.
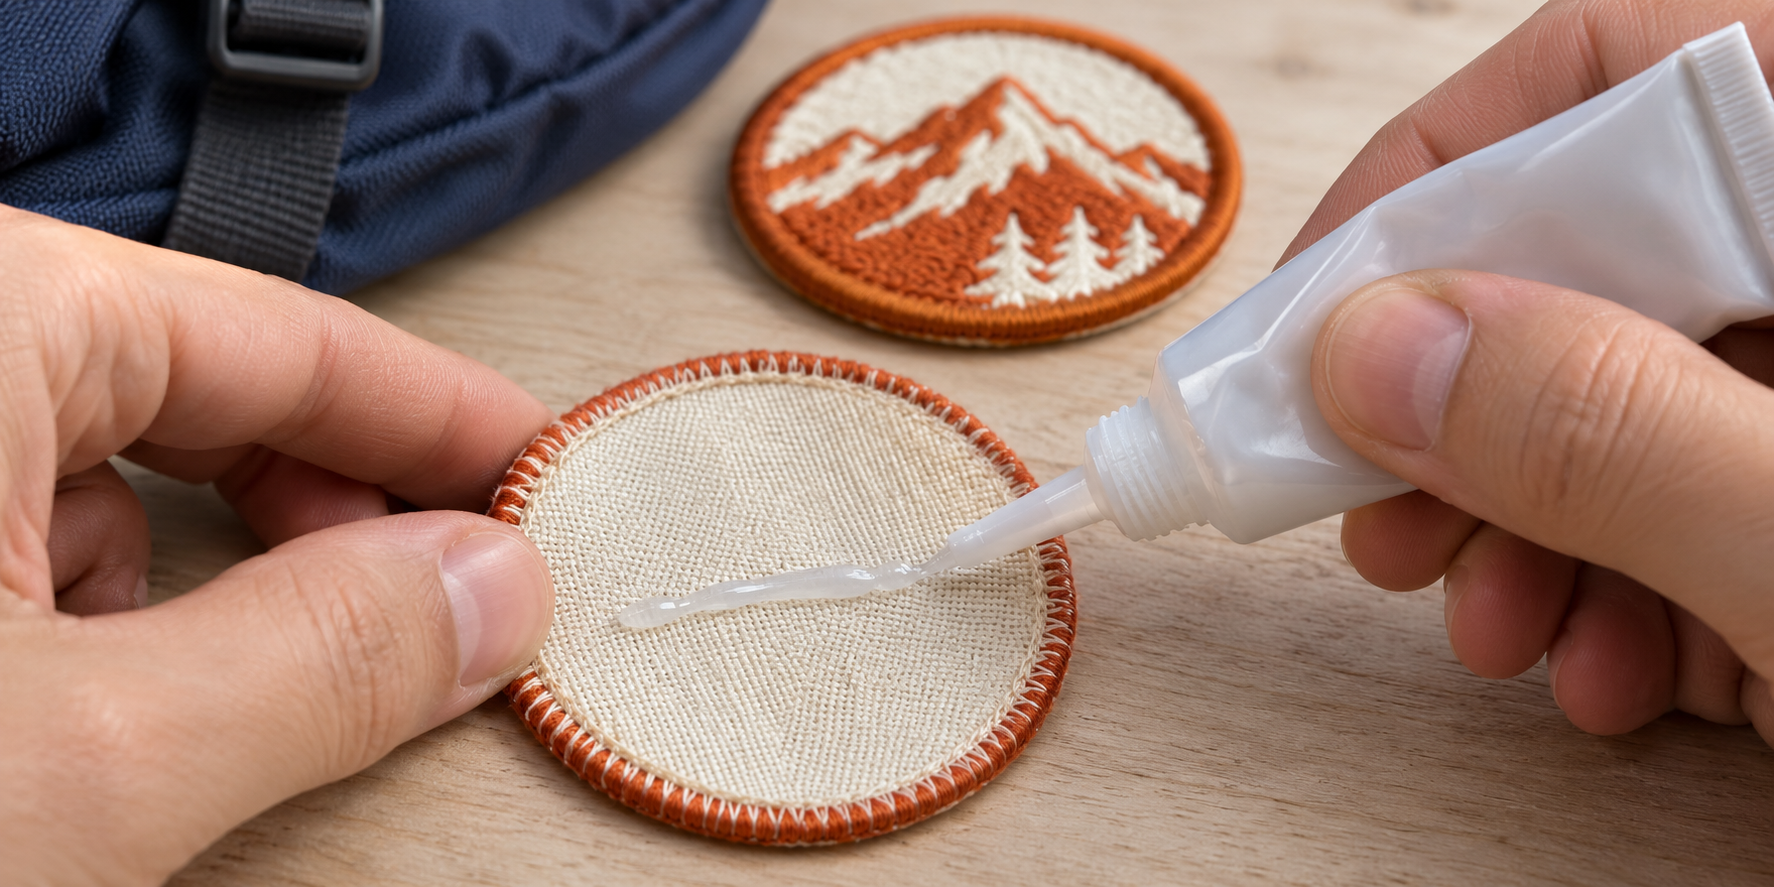
As designers, we test dozens of adhesives to find the right one for production. The criteria are always flexibility, durability, and a clean application. Hot glue is a popular craft choice, but it's terrible for backpacks. It sits on the surface and has no flex, so it just pops off. Super glue (cyanoacrylate) is too thin, can damage the fabric's fibers, and becomes incredibly brittle. The right adhesive creates a chemical bond with the fabric's surface without making it stiff. When I'm working on a prototype and need a quick, non-sewn solution, I always reach for a specialized fabric repair glue. It's designed to work with the exact materials and coatings found on outdoor gear, so it remains flexible and strong.
Choosing the Right Adhesive
Your choice of glue is critical for a lasting bond on technical fabrics.
- Read the Label: The most important step. Does it say it works on nylon, polyester, and vinyl? Does it say "flexible" and "waterproof"?
- Test in a Hidden Spot: Before gluing the patch to the front of your bag, apply a tiny dot of the glue to an inconspicuous area, like the inside of a pocket. Let it dry completely. Check if it discolors the fabric or becomes too stiff.
- Proper Application:
- Clean both surfaces with isopropyl alcohol to remove any dirt, oils, or DWR coating.
- Apply a thin, even layer of glue to the back of the patch.
- Press the patch firmly onto the backpack.
- Use painter's tape to hold it in place and apply weight (like a heavy book) while it cures.
- Let it cure for the full recommended time, usually 24 hours.
What is the Most Durable Way to Attach a Patch?
You want your patch to be a permanent part of your backpack. You need a method that you can trust to survive travel, weather, and daily use without ever failing.
Without question, sewing is the most durable and professional method for attaching a patch to a backpack. It creates a strong mechanical bond that doesn't rely on chemical adhesives and is not affected by fabric coatings, heat, or moisture. It is the gold standard for long-term attachment.
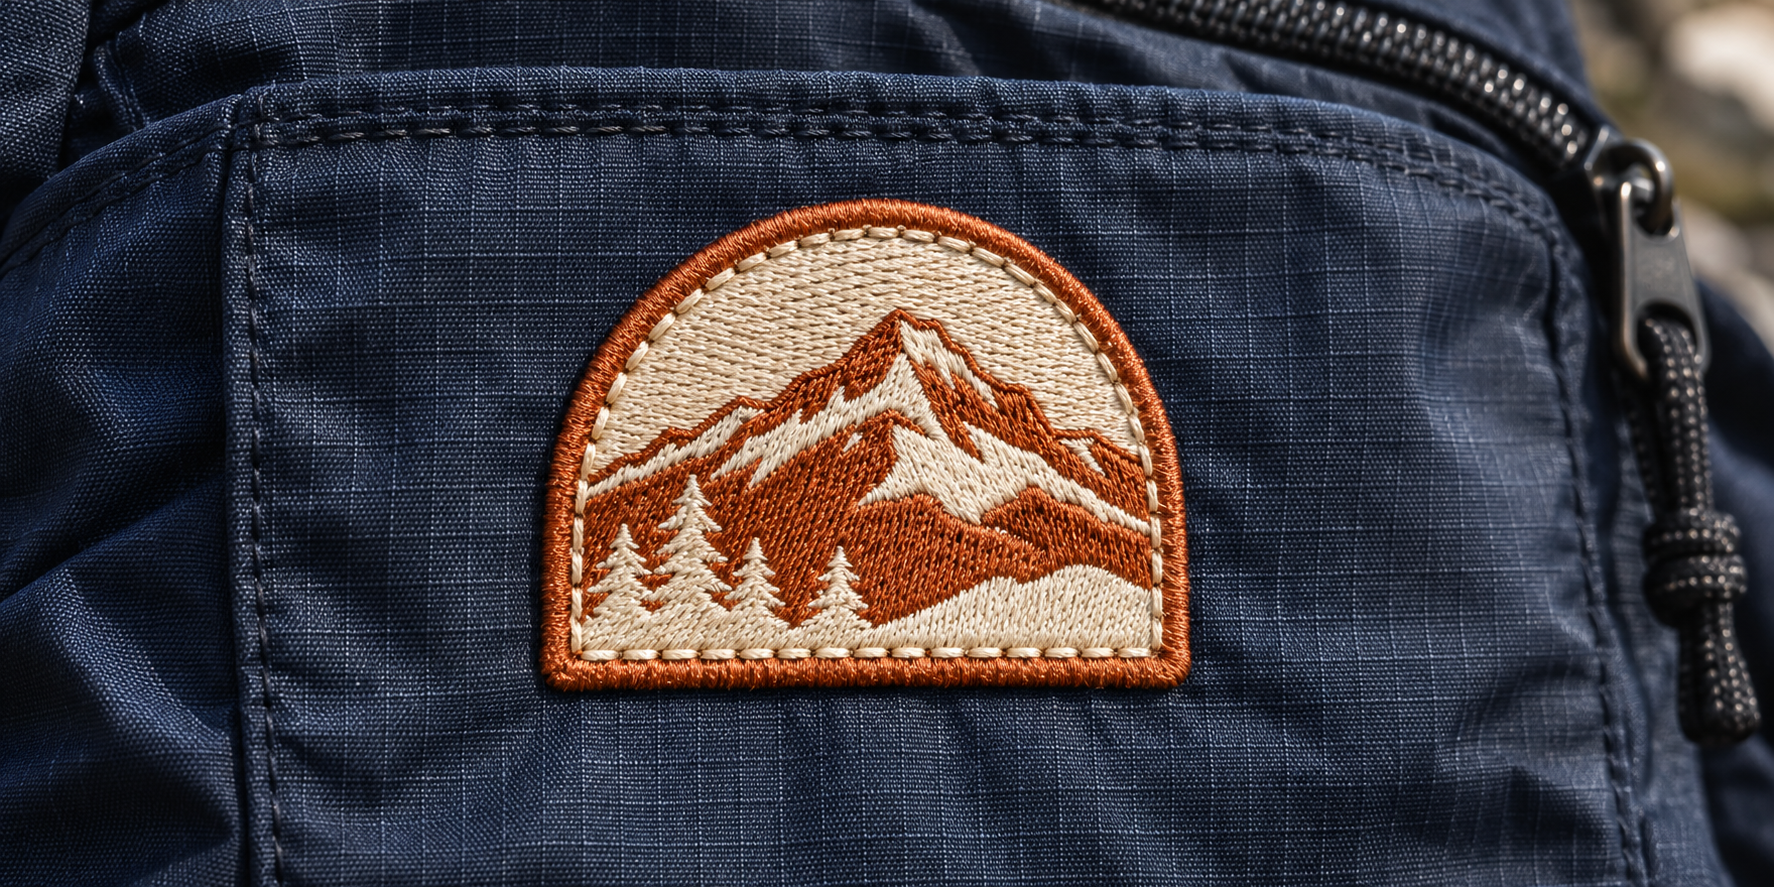
Every professionally made piece of gear you own that has a patch on it—from high-end outdoor brands to military equipment—has that patch sewn on. There is no other way to guarantee it will stay put under stress. When we are designing products for clients, sewing is the only method specified in the tech pack for permanent patches. It might seem more difficult, but with a strong needle and thread, it's a skill anyone can learn. Hand-sewing gives you complete control, allowing you to stitch through thick materials without a special machine. For any brand or individual who cares about quality and longevity, sewing is the only real answer.
Hand-Sewing Your Patch for Maximum Durability
This method ensures your patch will last as long as the backpack itself.
- Gather Your Tools: You will need a heavy-duty needle (a denim or leather needle works best), strong thread (polyester upholstery thread is excellent), and a thimble to protect your finger.
- Position the Patch: Use a pin or a small amount of fabric glue to hold the patch in place temporarily. This keeps it from shifting as you sew.
- Use a Running Stitch: This is a simple, strong stitch. Push the needle up from the inside of the backpack, just inside the patch's border. Then, push it back down through the patch and the backpack fabric about 1/8 inch away. Continue this stitch all the way around the patch border.
- Knot Securely: When you have stitched all the way around, bring the thread to the inside of the backpack, tie several secure knots, and trim the excess thread.
Conclusion
For a lasting application, skip the iron and glue. Sewing is the only method that guarantees your patch will stay on your backpack permanently, respecting the fabric's integrity and ensuring professional-level durability.