How Do You Attach a Custom Patch Correctly?
You’ve designed the perfect custom patch, but applying it incorrectly can ruin both the patch and the product. A poorly attached patch can peel, fall off, or look cheap, undermining your brand's quality.
To attach a patch correctly, choose the method that best suits the patch backing and the product's material. The three primary methods are sewing for maximum durability, ironing for quick application on compatible fabrics, and using a Velcro (hook-and-loop) backing for interchangeability.
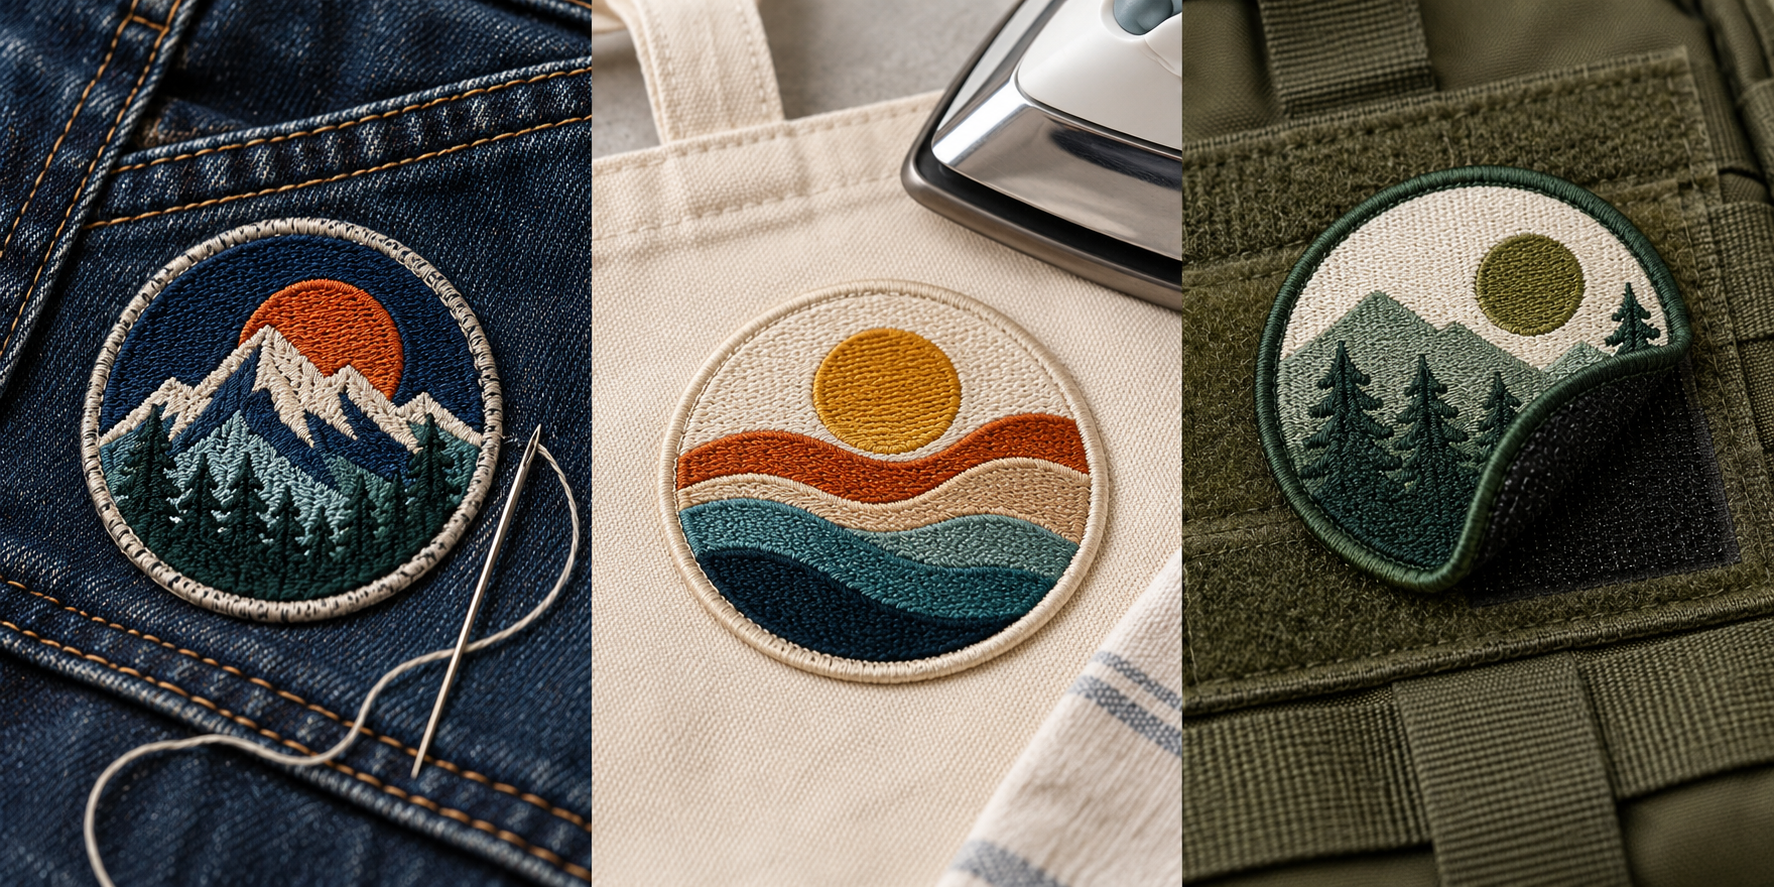
As someone who has overseen the production of thousands of pet products, I can tell you that the application method is as critical as the patch design itself. A beautiful patch that falls off a dog vest after one week is a failure that leads to customer complaints. Understanding the strengths and weaknesses of each attachment method is essential for creating a durable, professional-looking product.
When is Sewing the Best Method for Attaching a Patch?
You're designing a high-end dog harness meant for rugged outdoor use, and you're worried an iron-on patch won't survive the abuse. This leads to concerns about product returns and negative reviews questioning your gear's durability.
Sewing is the best method when you need a permanent, ultra-durable bond. It is the gold standard for heavy-duty materials like canvas, denim, and leather, and for any product that will face significant wear and tear or frequent washing.
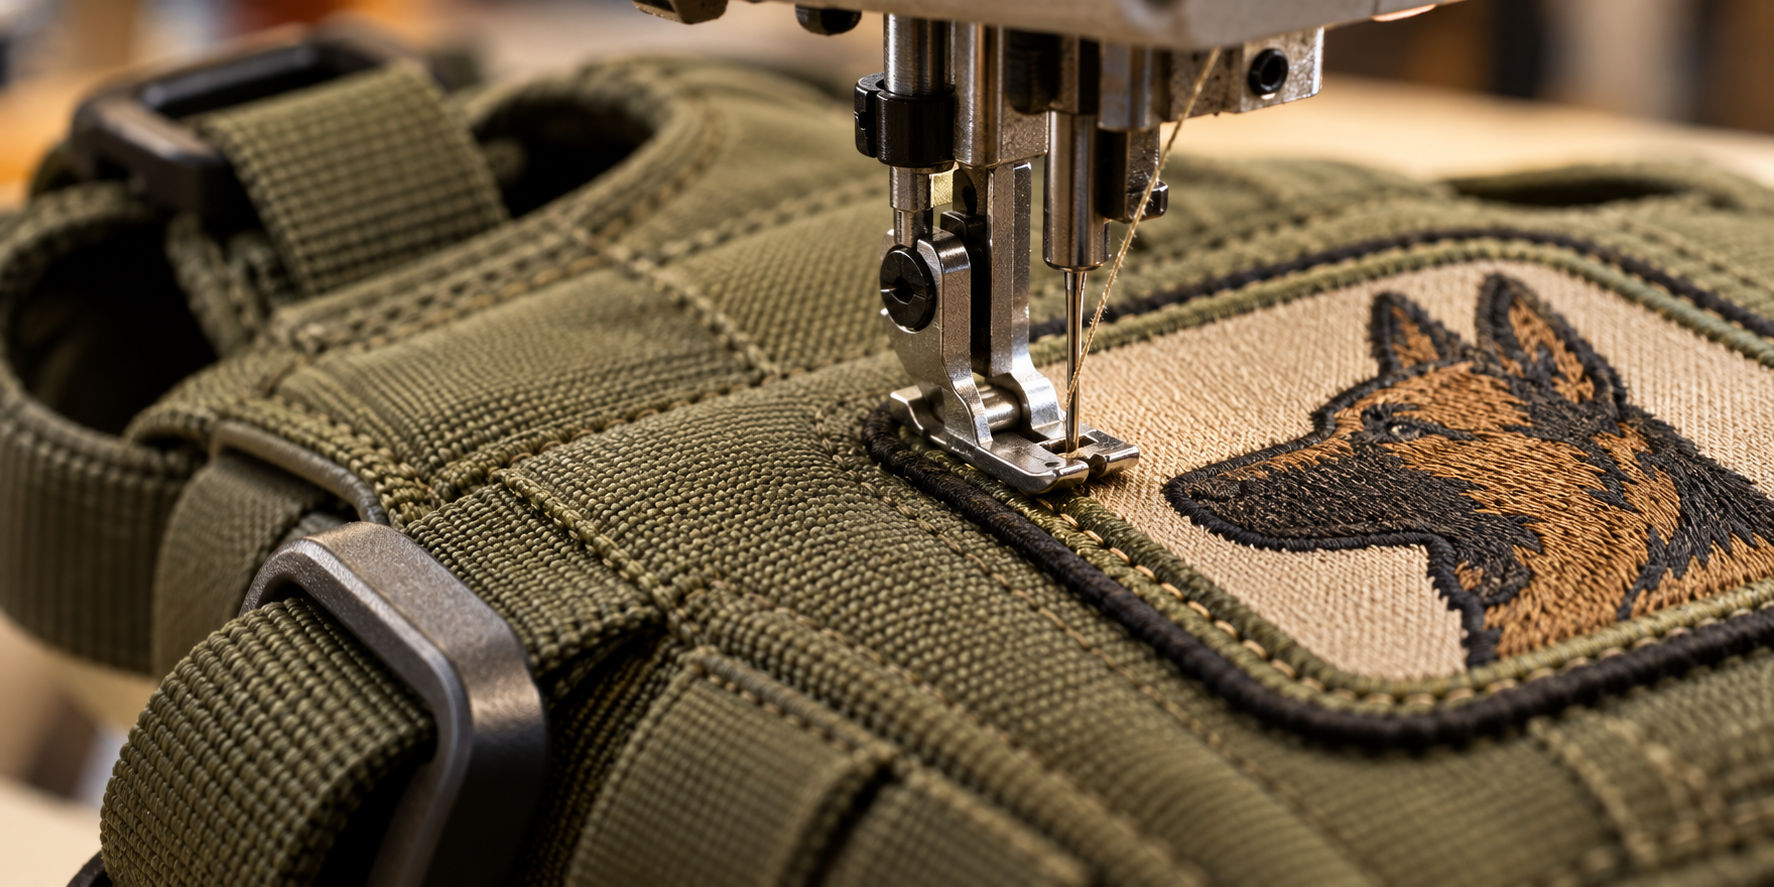
Sewing creates a mechanical bond, physically stitching the patch to the fabric. This is far stronger than any adhesive. I worked on a line of gear for search-and-rescue dogs, and sewing was the only method we considered. These vests had to withstand running through dense brush, getting soaked in water, and constant friction. An iron-on patch wouldn't last a day. For any premium product where longevity is a key selling point, sewing is a non-negotiable mark of quality. It tells your customer that you didn't cut corners.
Why Choose Sewing?
| Feature | Advantage | Best For... |
|---|---|---|
| Durability | Creates a permanent mechanical bond that won't peel or lift with use or washing. | Outdoor gear, dog harnesses, heavy workwear, children's clothing. |
| Material Compatibility | Safe for fabrics that can't handle high heat, like nylon, leather, and certain synthetics. | Waterproof jackets, leather goods, delicate or heat-sensitive fabrics. |
| Professional Finish | A clean stitch line around the edge provides a classic, high-quality aesthetic. | Premium and heritage brand products. |
How Do You Apply an Iron-On Patch for Lasting Durability?
You need a fast and cost-effective way to apply patches in production, but you've heard horror stories about iron-on patches peeling off after the first wash. This makes you hesitant to use them, fearing it will make your product seem cheap.
To apply an iron-on patch correctly, use a household iron on a high-heat setting (no steam), press down with firm, consistent pressure for 30-60 seconds, and allow it to cool completely before testing the bond. This method works best on cotton, denim, and polyester.
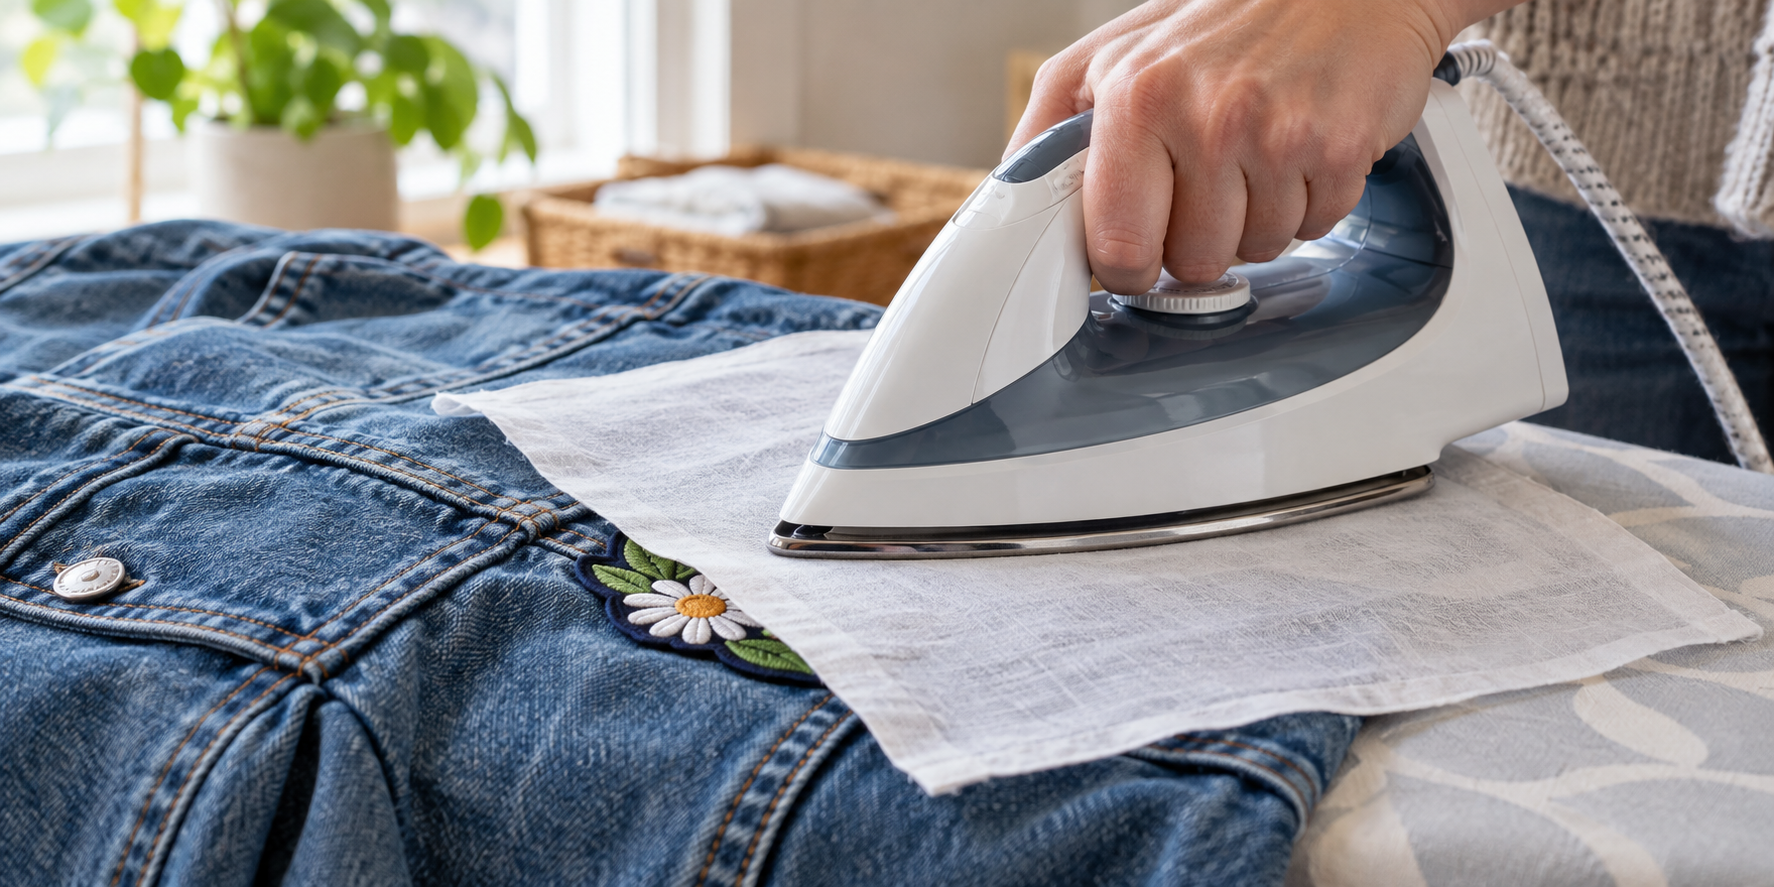
The key to a successful iron-on application is a combination of heat, pressure, and time. The heat melts the thermoplastic adhesive on the back of the patch, and the pressure forces that molten adhesive deep into the fabric's fibers. When it cools, it creates a strong bond. The biggest mistake people make is using steam, which can interfere with the adhesive, or not applying enough pressure. For my clients who use iron-on patches for dog bandanas or other light-use items, I always provide a specific temperature and time recommendation for their factory. For a truly secure bond on a higher-end item, I recommend a hybrid approach: iron the patch on first for perfect placement, then add a simple running stitch around the border for permanent security.
Iron-On Application Guide
- Preparation: Set your iron to the highest temperature the fabric can handle. Make sure the steam function is OFF.
- Positioning: Place the patch on the garment. You can cover it with a thin cloth (like a pillowcase) to protect both the patch and the fabric.
- Pressure: Press the iron down firmly on the patch and hold for 30-60 seconds. Do not move the iron around.
- Reverse Side: Flip the garment over and press the iron on the reverse side of the patch area for another 30 seconds.
- Cooling: Allow the patch to cool completely. This is when the bond solidifies.
Why is Velcro the Top Choice for Modular Patch Systems?
Your customers want to customize their gear, like a service dog vest or a tactical harness, but a permanent patch limits their options. This inability to adapt the product for different situations can be a major drawback for users who need flexibility.
Velcro (hook-and-loop) is the best choice for modularity because it allows users to easily swap patches as needed. This is ideal for service dog designations, morale patches, or any situation where information or branding needs to be changed quickly.
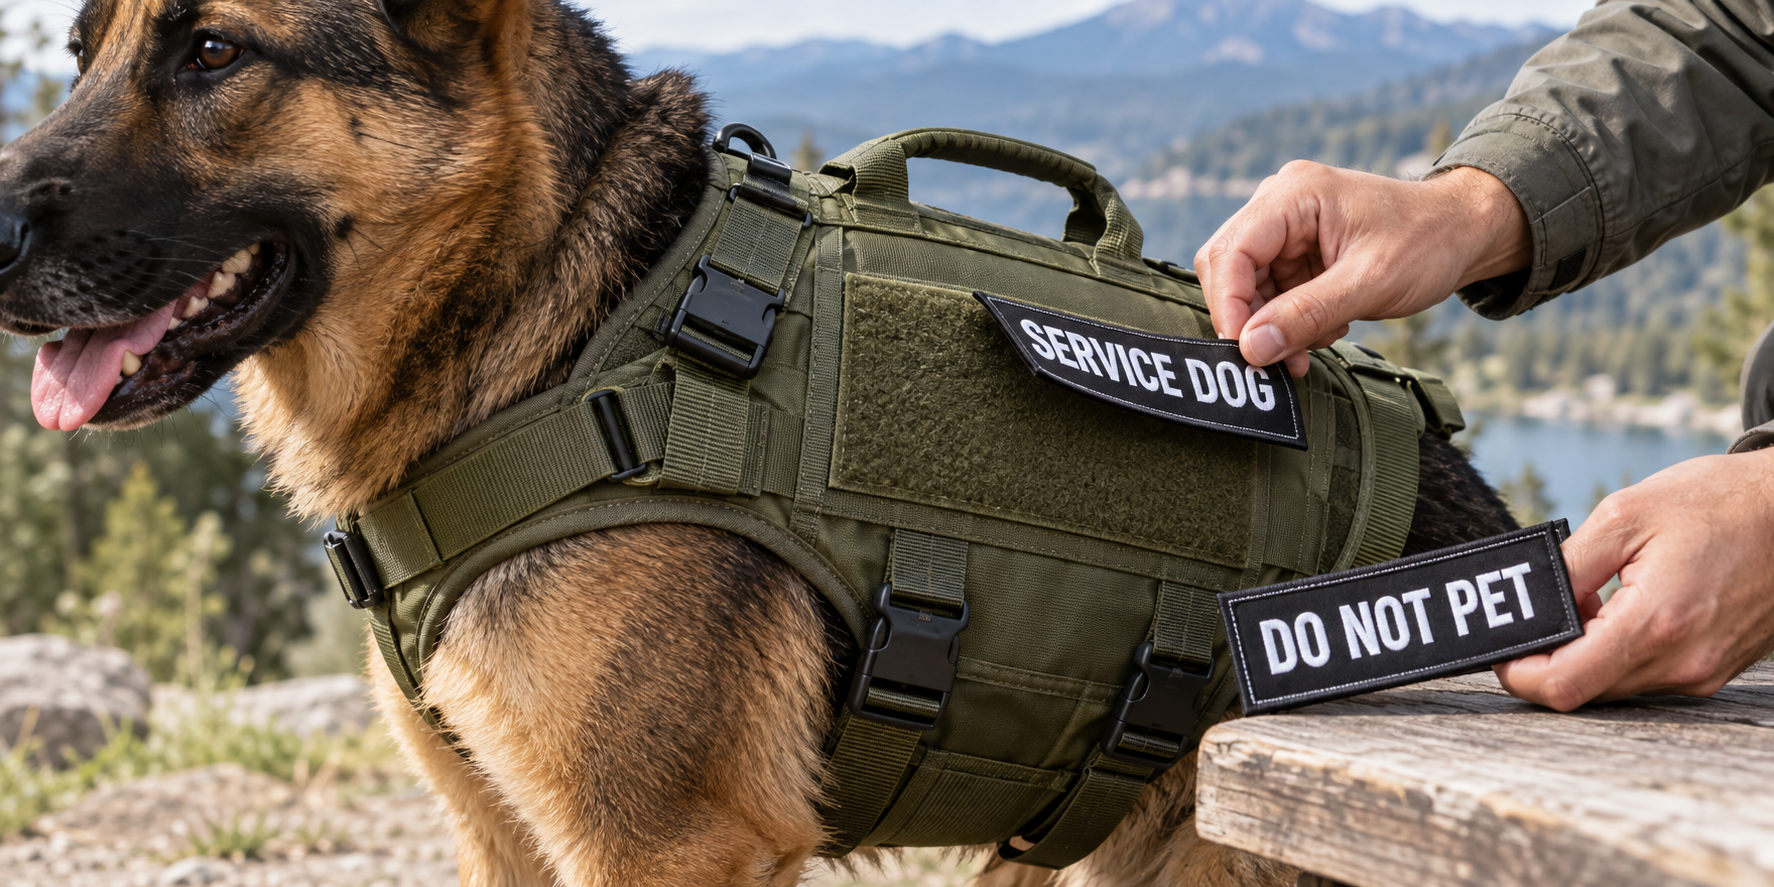
As a designer focused on functional gear, the Velcro system is your best friend. It turns a static product into a dynamic platform. Think of a working dog whose status might change from "In Training" to "Certified Service Animal." A Velcro system makes this an easy, five-second update for the owner. I implemented this for a brand that makes backpacks for dog lovers. We added a 4"x2" loop panel on the front. They then sold dozens of different fun, "morale" patches that customers could collect and swap out. It created an entire ecosystem around their core product, driving repeat purchases and building a community. The key is to use high-quality hook-and-loop material and to securely sew the soft "loop" side onto your product during manufacturing.
Benefits of a Velcro System
- Customization: Users can personalize their gear with different patches, expressing individuality or changing roles.
- Flexibility: Perfect for service dogs where indicators like "In Training" or "Do Not Pet" need to be displayed or hidden.
- Easy Maintenance: Patches can be removed before washing the garment, extending the life of both the patch and the product.
- Community Building: Allows brands to sell collectible patches, creating a loyal following and repeat business.
Conclusion
Using a patch correctly means choosing the right application method: sewing for durability, ironing for speed, and Velcro for flexibility. Matching the method to your product ensures a professional and lasting result.